.svg)
How to Add Copy to Clipboard Functionality in Webflow

Adding a "Copy to Clipboard" feature to your Webflow site enhances user experience by allowing visitors to easily copy text with a single click. This functionality is particularly useful for copying code snippets, quotes, or any text content you wish to make easily shareable. Below, we outline how to implement this feature, including steps to handle rich text content.
Step 1: Prepare Your Webflow Elements
Before diving into the custom code, you need to set up your elements in Webflow:
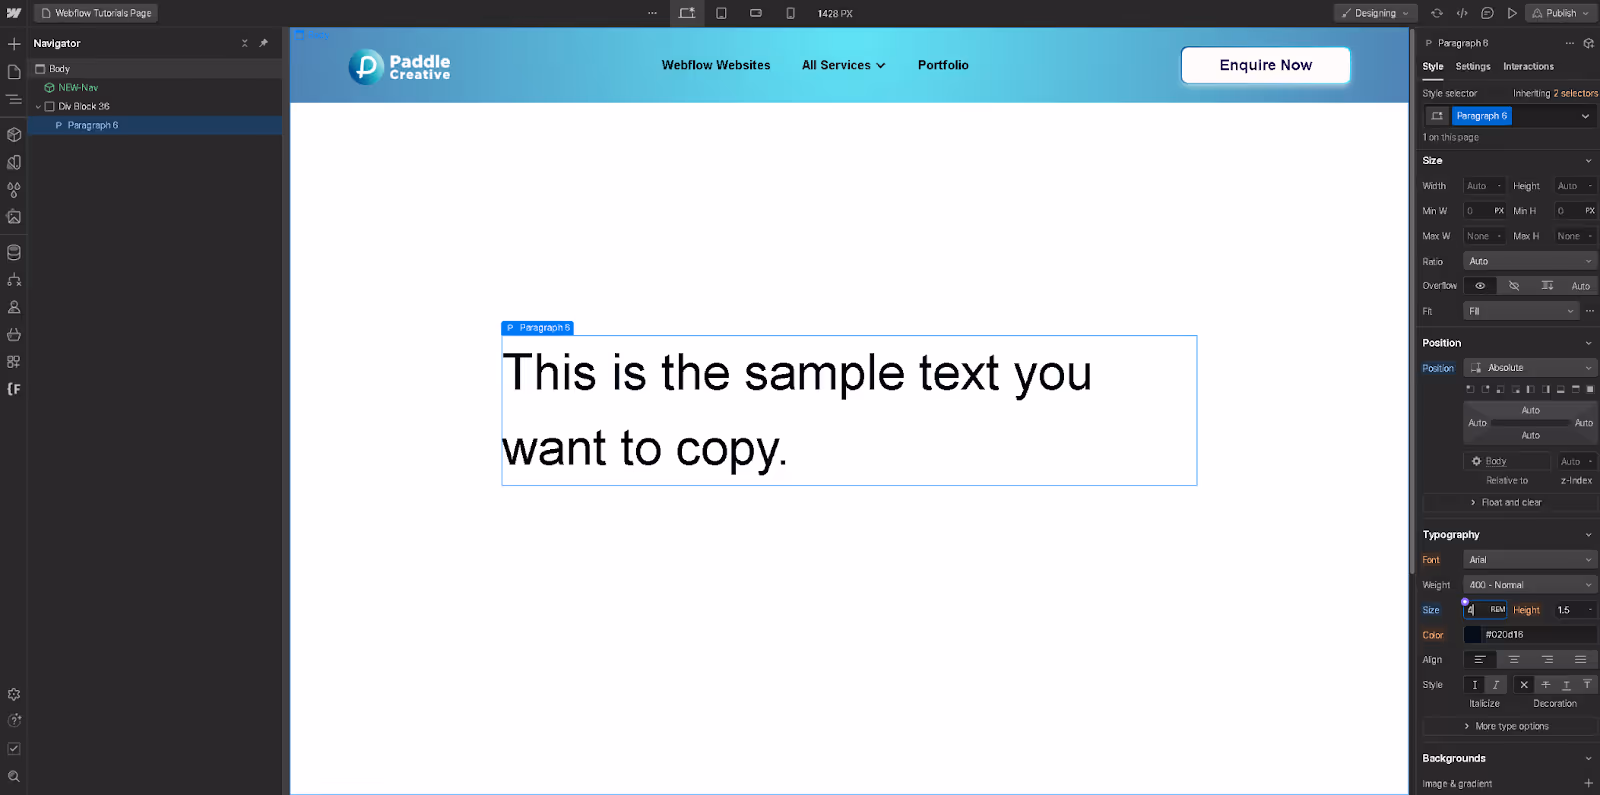
Text Element: Add the text you want users to be able to copy. This could be within a Paragraph, Text Block, or Rich Text element. Assign it an unique ID (e.g., codeToCopy) in the "ID" field under "Element Settings".

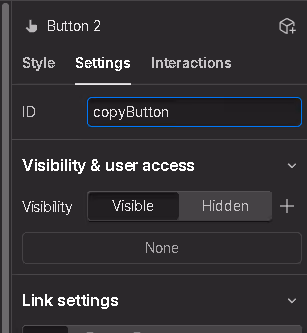
Button Element: Add a Button element that users will click to copy the text. Assign this button an unique ID (e.g., copyButton) in the same manner.

Ensure these elements are correctly placed on your page where you want the copy functionality to be available.
Step 2: Add Custom Code for Clipboard Functionality
In this step, you will integrate a simple script that activates the copy to clipboard feature:
Navigate to your Webflow project's dashboard.
Click on your site, then find and select "Settings".
Scroll to the "Custom Code" section.
Paste the following script in the "Before </body> tag" field:

This script listens for a click event on the button with the ID copyButton. Upon clicking, it retrieves the text from the element with the ID codeToCopy and attempts to copy this text to the user's clipboard.
Important Notes:
You may wonder about How to add Copy to Cliboard functionality using CMS and Rich Text. This method works with CMS as well. All you need to do is add the code snippet and the button with the IDs mentioned above inside HTML Embed within the richtext.
Rich Text Support: The script works with text within a Rich Text element as well. The innerText property ensures that only the text content, stripped of any HTML formatting, is copied.
ID Assignment: Ensure the IDs used in the script (copyButton and codeToCopy) match the IDs assigned to your elements in Webflow. ID values are case-sensitive and should be unique within your page.
Browser Permissions: Modern browsers may require the site to be served over HTTPS to use clipboard functionalities. Additionally, some browsers may ask users for permission to access the clipboard.
Step 3: Publish and Test Your Site
After adding the script:
Click "Save Changes" at the bottom of the settings page.
Publish your site to make the changes live.
Visit the published page and test the copy to clipboard button to ensure it works as expected.
This method introduces an efficient way for users to copy content to their clipboard, enhancing the interactivity and usability of your Webflow site.

.jpg)
%20(1)%20(1)%20(1).jpg)
.jpg)
%20(1).avif)
.avif)
.avif)