.svg)
How to Add Guests to your Webflow Workspace

Updated July 2025.
Welcome to your essential guide for managing your Webflow Workspace. Whether you're new to Webflow or looking to streamline your workflow, this guide will help you collaborate with external partners like Paddle Creative.
First thing’s first: the plans - if you want to know more about Webflow plans, have a read of this resource. If you're on a Workspace plan—whether it's a Starter plan, or Agency/Freelancer plans—you have the ability to invite guests to your Workspace without incurring any additional costs. These guests won’t affect your Workspace seat count. On plans such as Starter, Core, Growth, Freelancer, or Agency, you can invite up to 2 guests per Workspace. For Enterprise Workspace plans or if you're an Enterprise Partner, you can extend this to up to 10 guests. Additionally, irrespective of your Workspace plan, you can be a member of up to 100 Workspaces, enabling you to manage multiple projects and collaborations effectively.
How to invite a guest into your Workspace
There are a number of people who can invite guests to your Workspace, these are the Workspace owners, admins, and members, these people can also remove guests from the Workspace. However, guests do not possess the capability to invite other guests to join a Workspace.
This guide assumes you have already set up a Webflow Workspace account. If you have not, visit Webflow and set up an account and Workspace.
To extend an invitation to a guest for your Workspace, follow these steps:
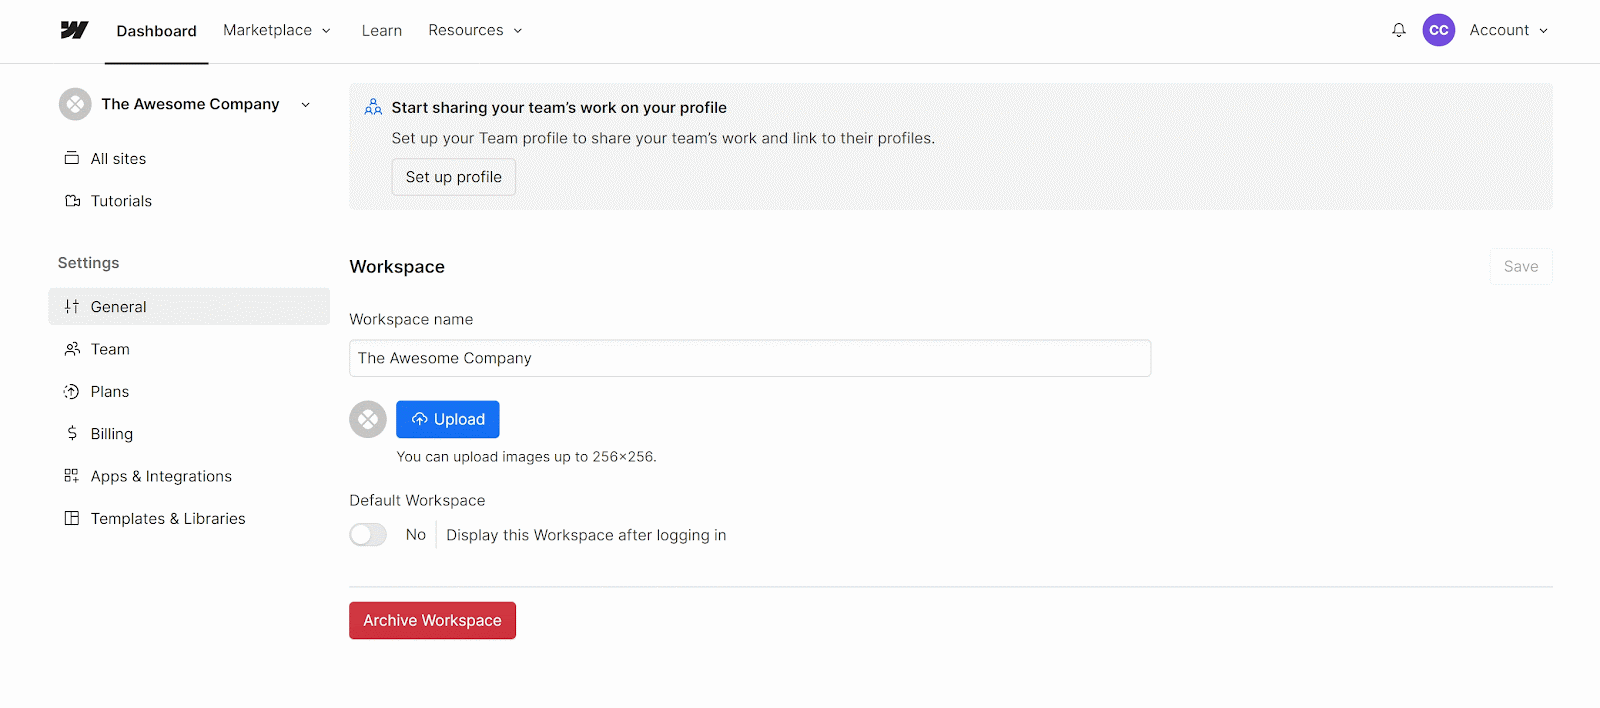
- Name your Workspace to your business name so external partners know who’s workspace they are accessing.
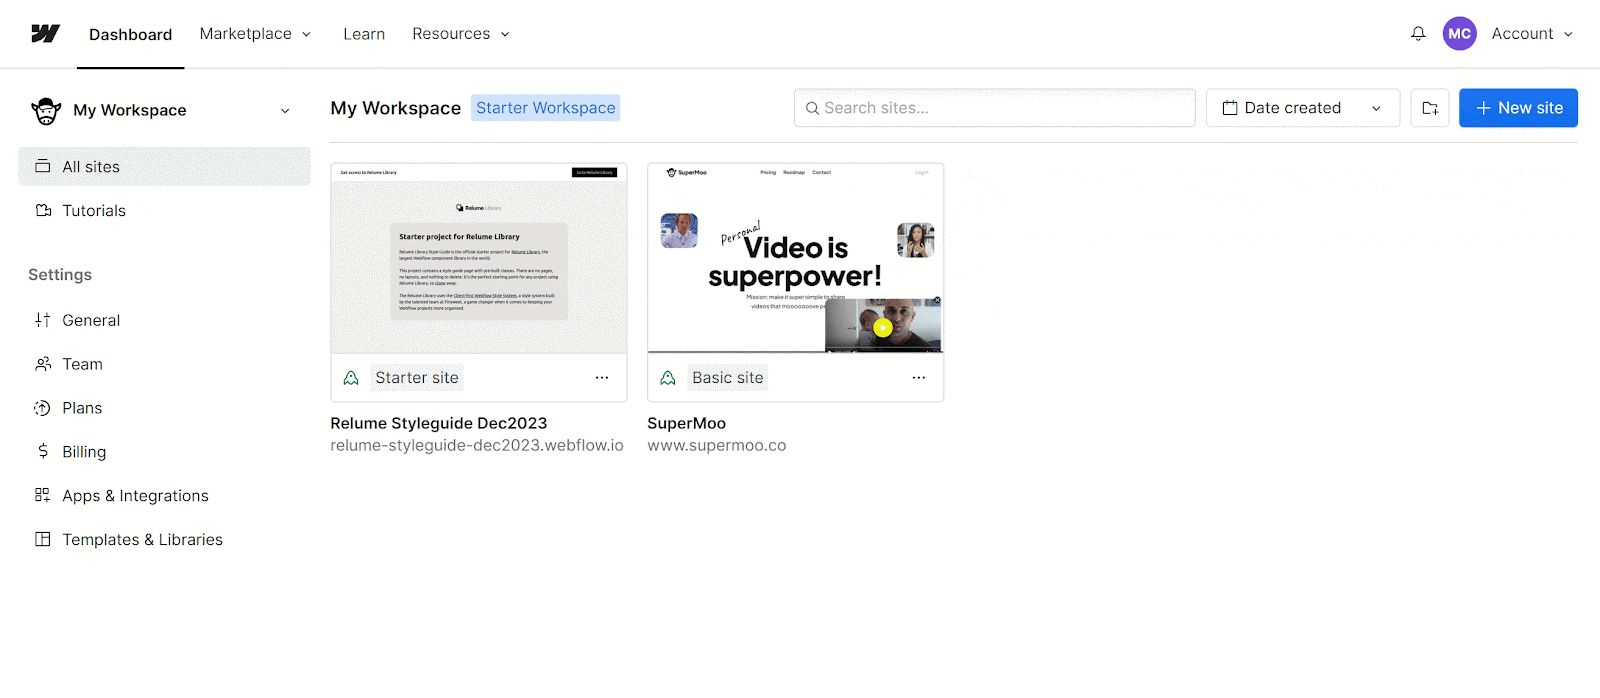
- Navigate to the Account dropdown menu located in your Dashboard.
- From this menu, select ‘Workspaces’.
- Choose the specific Workspace where you wish to add the guest.
- Proceed to the Members tab, then select ‘Agency or Freelancer Guests’.
- Click on ‘Invite guest’.
- Enter the guest’s email address in the designated field.
- Click on ‘Invite’.
Afterwards, your guest will receive the invitation via email, and can accept it to gain access to your Workspace. It's important to note that to accept the invite, the guest must have an Agency or Freelancer Workspace plan.
How to resend the invite
If you need to resend an invitation to a guest in your Webflow Workspace, the process is simple and can be done quickly as long as the invite is still pending. Here's how:
- In your Dashboard, click on the Account dropdown menu.
- Select ‘Workspaces’.
- Choose the specific Workspace to which you initially sent the invitation.
- Go to the Members tab and navigate to ‘Agency or Freelancer Guests’.
- Identify the guest you wish to resend the invitation to and click on the ‘3 disclosure dots’ to the right of the guests name.
- From the options provided, select ‘Resend invite’.
This will repeat the invitation and your guest should receive the email invitation.
How to cancel an invitation
If you've accidentally sent an invitation to the wrong person, don't worry. You can cancel the invite as long as it's still pending. If the invite is no longer pending, you can simply remove the guest from your Workspace. Here's how to cancel a pending guest invite:
- Select the Account dropdown menu in your Dashboard.
- Select ‘Workspaces’.
- From here, click the Workspace from which you sent the invitation.
- Navigateto the Members tab and select ‘Agency or Freelancer Guests’.
- Identify the guest for whom you want to cancel the invite and click on the ‘3 disclosure dots’ located next to their name.
- From the options provided, choose ‘Cancel invite’.
How to remove a guest from your Workspace
When you remove a guest from your Workspace, their access to the Workspace and its associated sites will be revoked unless you re-invite them later. It's important to note that guests themselves cannot remove their access from your Workspace and so this is something the Workspace owners or admins will have to do.
To proceed with removing a guest, follow these steps:
- Navigate to the Account dropdown menu situated in your Dashboard.
- From the options shown, select ‘Workspaces’.
- Go to the specific Workspace where you initially invited the guest.
- Move to the Members tab and select ‘Agency or Freelancer Guests’.
- Identify the guest you wish to remove, then click on the ‘3 disclosure dots’ to the right of their name.
- From the menu that appears, click on ‘Remove from Workspace’.
- In the Member confirmation modal window, type REMOVE.
- Finally, click on "Remove" to confirm the action.
How to view a list of your Workspace guests
If you're looking to keep track of who has access to your Workspace, viewing the list of guests is essential. Here's a simple guide on how to do it:
- Click on the Account dropdown menu located in your Dashboard.
- Select ‘Workspaces’.
- Choose the Workspace for which you want to see the guests.
- Go to the Members tab and select ‘Agency or Freelancer Guests’.
From here, you’ll be able to see the list of all of the guests who have access to that specific Workspace.

.avif)
%20(1)%20(1)%20(1).avif)
.avif)
%20(1).avif)
.avif)
.avif)