.svg)
How to Create a Specific Tab Link in Webflow

How to Create a Specific Tab Link in Webflow
Introduction
Webflow is a powerful, visual web design platform that allows users to create professional, responsive websites without any coding knowledge. It offers a drag-and-drop interface, integrated hosting, and advanced features, making web design accessible to designers and businesses.
This resource will provide a step-by-step guide on how you can create a link to a specific tab on your Webflow website. This is really handy for directing users to a specific section or content within a page enhancing their browsing experience and making navigation more efficient.
Step 1: Open the Page
First, open up the Webflow editor and select the blog/page/asset you want to add the specific tab link to.
Step 2: Add a Tab
Now that you’re in the correct asset, add a Tab (be sure to name each tab something identifiable) into the project and give it that consistent branding seen across your page.
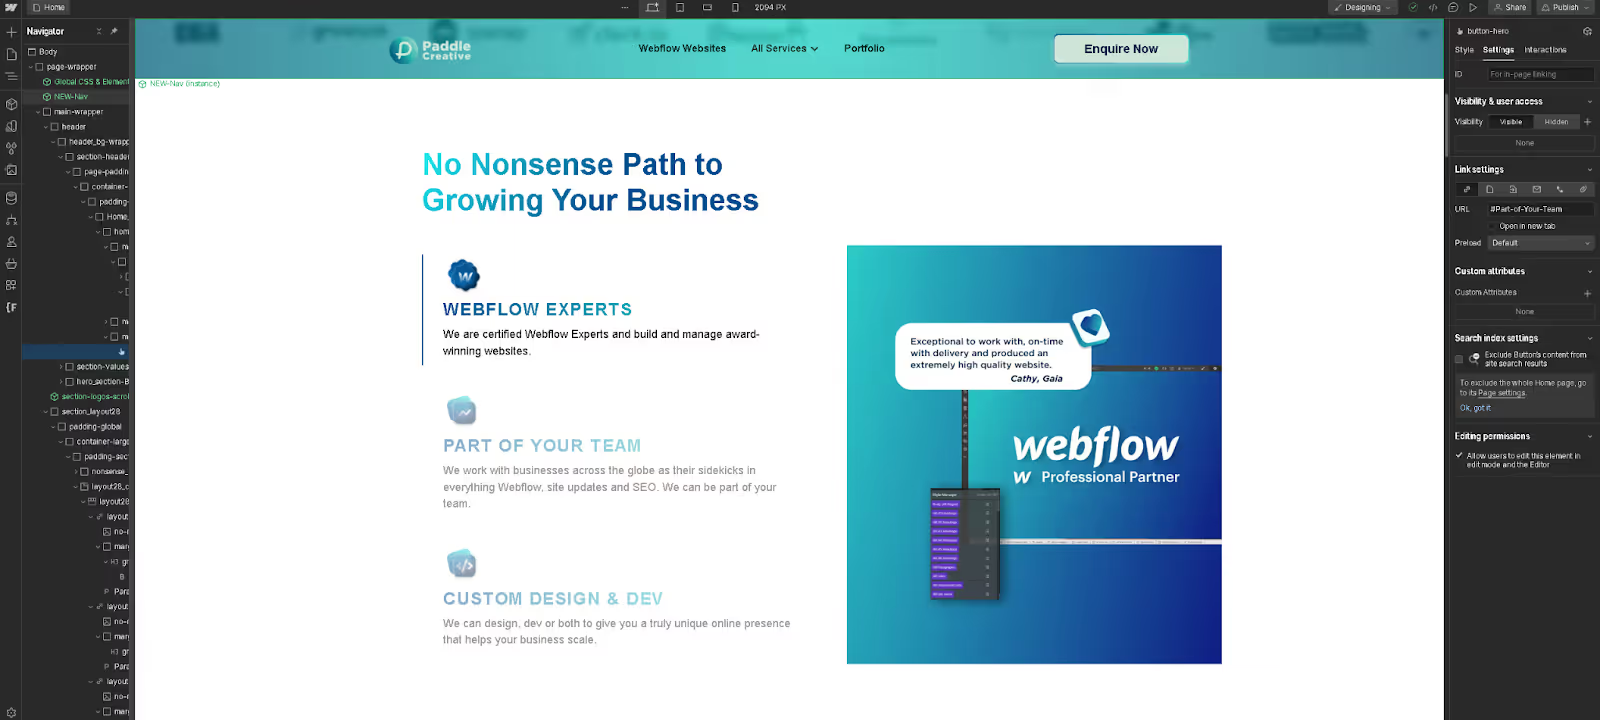
Step 3: Give Tab Links an ID
Once you’ve added a tab to the asset, select each of the desired tab links and give them a specific ID. It’s a good idea to give them the same name as the Tab so you are able to easily identify them and know where they lead to.
Step 4: Add the Code
This part is nice and straight-forward. Copy the code below and paste it into the settings of the asset that contains the tabs you are creating links for - make sure you insert it in the before body tag.
Step 5: Create External Link
You’ve made it to the last step. For this, all you need to do is go to the link settings and select the “External URL” option. Then, customise and insert the link below.
.gif)
This can be done in the following ways-
- Same Page (For a tab on the same page): Use a text link, button, or any linkable element. Set the link type to URL and enter #yourUniqueId (replace yourUniqueId with the actual ID you assigned to the tab). For example, #Webflow-Experts.
- Different Page (For a tab on a different page): Include the full URL followed by #yourUniqueId. For example, https://www.yoursite.com/page#tab2.
Conclusion
.gif)
In conclusion, leveraging specific tab navigation in Webflow enhances the user experience by providing immediate access to important information. By assigning unique IDs and incorporating simple JavaScript, you can significantly improve site navigation and engagement. This resource demonstrates that with Webflow, sophisticated web functionalities are within reach, even for those without coding skills, making your website not only more user-friendly but also more interactive.
Want to know more? Get in touch with the team.

.avif)
%20(1)%20(1)%20(1).avif)
.avif)
%20(1).avif)
.avif)
.avif)