.svg)
How to Optimise Your Webflow Website with Image Compression
Boost Your Webflow Site Speed with AVIF & WebP Compression
.avif)
How to Optimise Your Webflow Website with Image Compression
Images are essential for captivating web design, but unoptimised files can cripple your site’s speed and SEO. With Webflow’s latest Asset Management improvements and AVIF/WebP conversion tools, optimising images is now faster and more intuitive than ever. This guide walks you through modern best practices for compressing images, utilising new Webflow features, and enhancing performance.
Why Image Optimisation Matters
Unoptimised images harm your site in four key ways:
- Slower Load Times: Large files delay page rendering, frustrating users.
- Lower SEO Rankings: Google penalises slow websites in search results.
- Poor Mobile Performance: Heavy images drain bandwidth and increase bounce rates.
- Missed Conversions: A 1-second delay can result in a 7% reduction in conversions
(Source, Akamai https://www.akamai.com/glossary/what-is-website-loading-speed).
Webflow’s latest updates tackle these issues head-on with smarter compression, bulk editing, and site-wide asset management.
1. Choose the Right Image Format
Modern formats like AVIF and WebP offer superior compression without sacrificing quality:
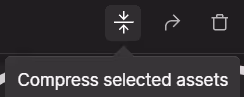
Compression to AVIF or WebP can be done by pressing the Webflow shortcut, ‘J’, to go to the Asset Panel and clicking Compress via the button shown above.
- AVIF or WebP: Webflow’s default for CMS assets - automatically converts PNG/JPEG to WebP with the click of a button.
- AVIF: Delivers 30–50% smaller files than WebP. Ideal for high-resolution images.
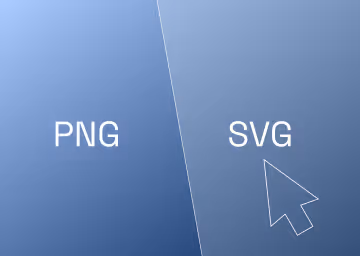
- SVG: Use for logos, icons, and vector graphics (scalable, tiny file sizes).
- JPEG/PNG: Only use if legacy browser support is critical.
2. Compress Images Before Uploading
While Webflow auto-compresses images, pre-optimising saves time:
- Free Tools:
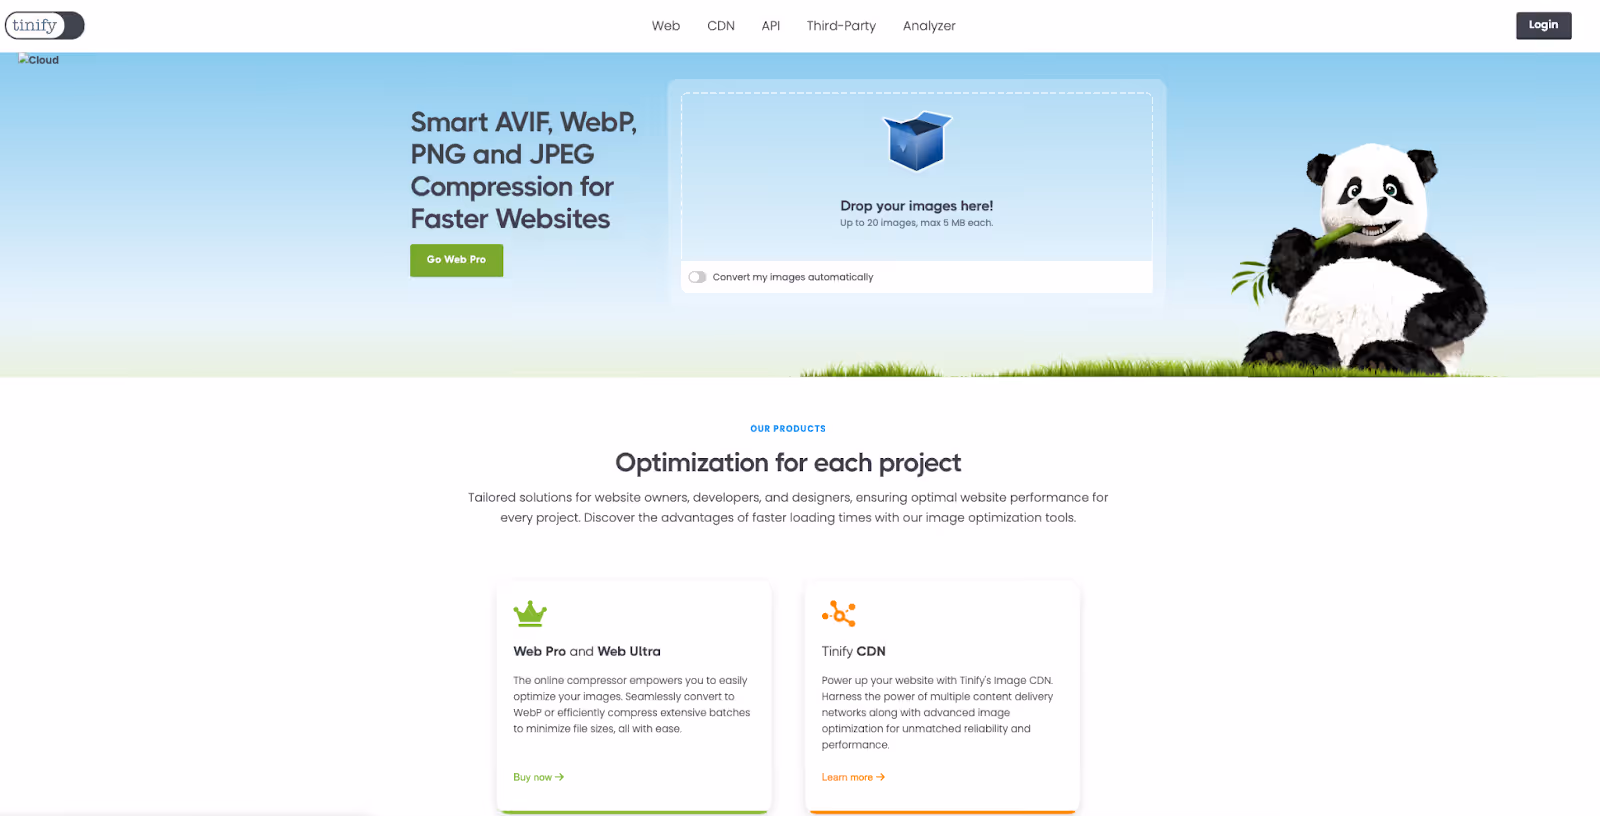
- TinyPNG: Reduces PNG/JPEG sizes by 60–80%.
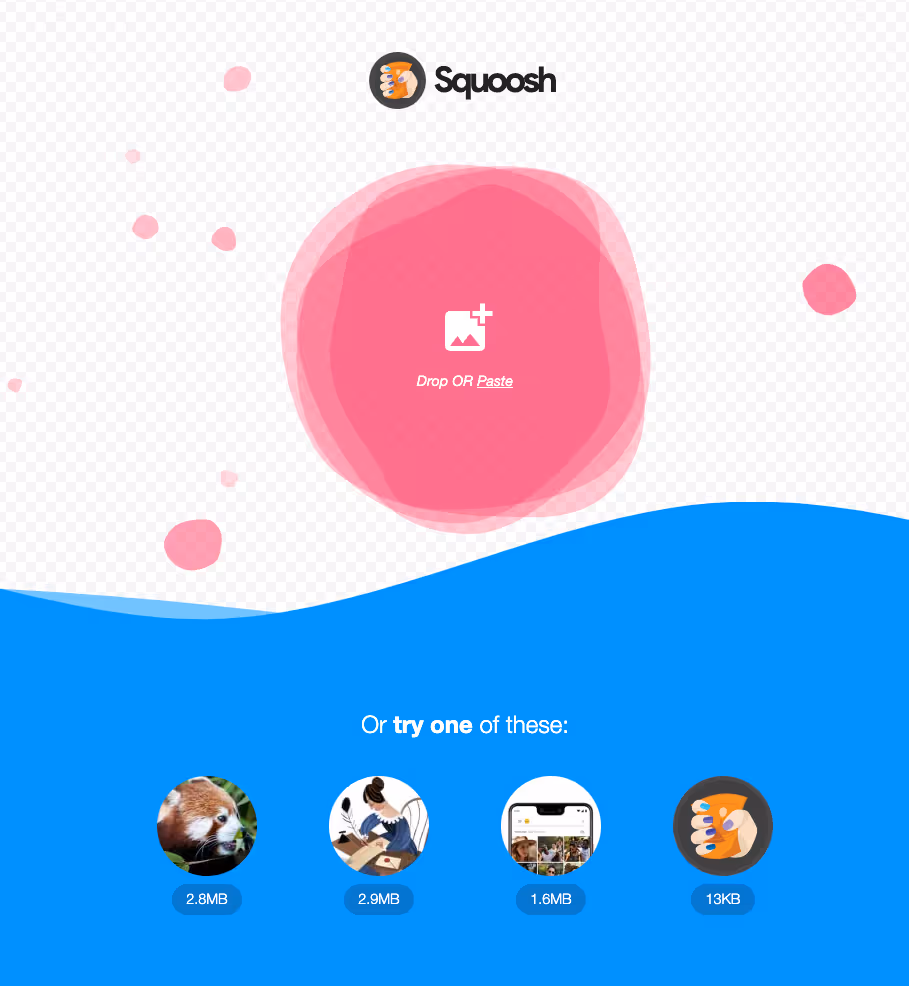
- Squoosh: Adjust compression settings manually.
- Pro Tip: Use Webflow’s ‘Replace’ action (more on this below) to update pre-compressed assets site-wide.
3. Resize Images to Match Layout Needs
Oversized images waste bandwidth. Resize before uploading:
- Hero Images: Max 2000px width.
- Content Images: 1200px width.
- Thumbnails/Icons: 500px width.
Webflow’s Responsive Images: Automatically generate device-specific variants.
4. Enable Lazy Loading
Lazy loading defers loading of off-screen images, speeding up initial page loads. If you have an image above the fold (visible on screen load without scrolling), use ‘eager’ load to load instantly. Anything below the fold should be ‘lazy’ load.
- Select an image in the Webflow Designer.
- Open the Settings panel.
- Toggle Lazy Load on.
Ideal for: Blogs, galleries, and eCommerce product grids.
5. Use Webflow’s Built-In Optimisation Tools
Webflow’s revamped Asset Management panel (2025 update) simplifies optimisation:
Key Features:
- AVIF/WebP Conversion:
- Manually upload AVIF for critical pages (e.g., hero sections).
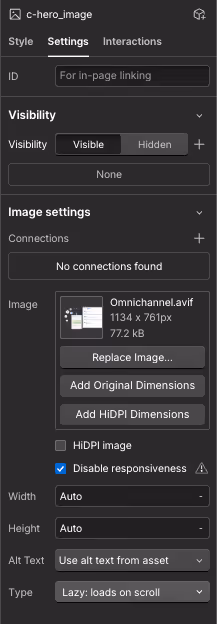
- Redesigned Edit Settings:
- Edit display names, alt text, and folders per asset.
- Localise alt text for multilingual SEO.
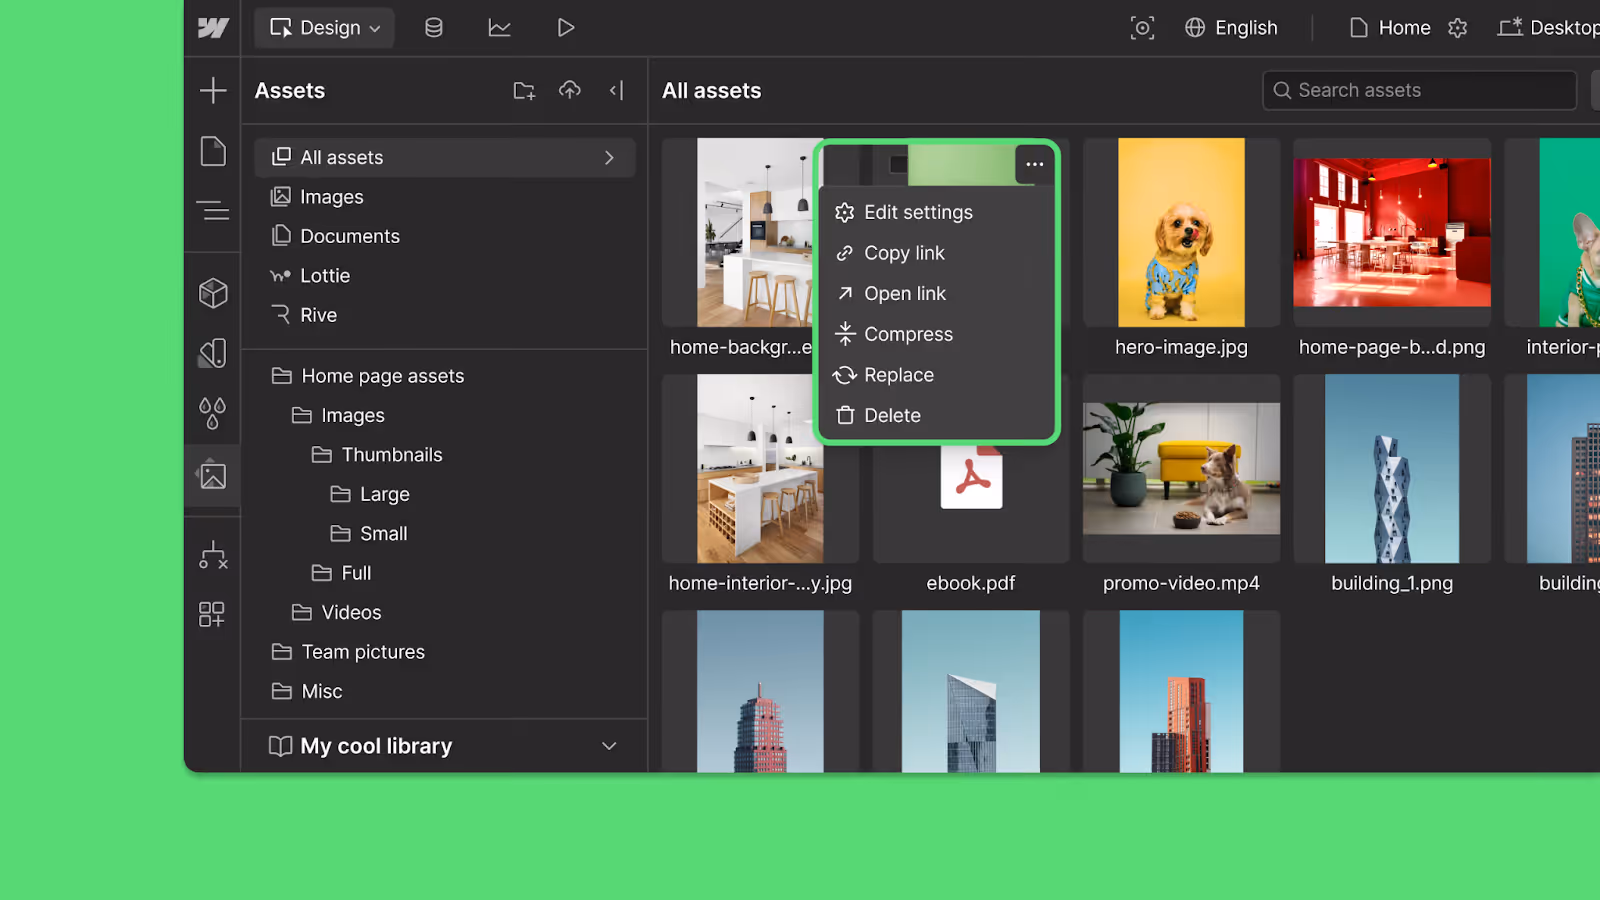
- Replace Action:
- Update an asset site-wide in seconds (e.g., swap logos or PDFs).
- Enhanced Compression:
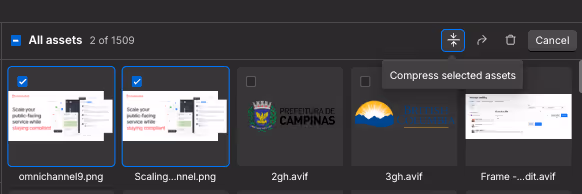
- Compress individual assets or select multiple assets by holding the Shift key.
- See file-size savings before confirming.
- Bulk Edit Workflow:
- Cleaner UI with visible selection indicators.
- Shift-click to select ranges, then compress or organise into folders.
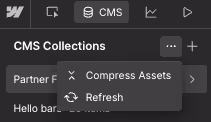
6. Audit & Optimise Existing Assets
Use Webflow’s new tools to clean up legacy images:
- Run a Speed Test:
- Google PageSpeed Insights or Lighthouse.
- Bulk Compress:
- In the Assets panel, select All > Compress.
- Webflow skips already-optimised files automatically.
- Replace Outdated Formats:
- Use the Replace action to upgrade PNG/JPEG to WebP/AVIF.
7. Organise Assets with Folders & Metadata
The updated Assets panel lets you:
- Create Folders: Group images by type or campaign to organise them effectively.
- Edit Metadata: Add descriptive alt text for SEO and accessibility.
- Shift-Click: Quickly select multiple assets for bulk actions.
Conclusion
With Webflow’s latest Asset Management upgrades, optimising images is faster and more powerful than ever. By combining pre-upload compression, AVIF/WebP formats, lazy loading, and the new Replace/Bulk Edit workflows, you can significantly reduce load times and enhance the user experience.

.avif)
%20(1)%20(1)%20(1).avif)
%20(1).avif)
.avif)
.avif)