
.svg)

%20(1).avif)
- Plan blog structure around marketing goals and workflows
- Set up CMS fields for SEO, tags, authors, and CTAs
- Design clean, modular templates with conditional visibility
- Use tools like Jetboost and Zapier for filtering and automation
- Make Editor Mode intuitive with labels, help text, and testing
How to Create a Blog in Webflow That’s Easy for Marketing Teams to Manage
Introduction
Suppose you’re a Webflow developer like me. In that case, you’ve probably been in this scenario: you hand off a beautiful, fully responsive blog to a client or internal team, only to get Slack messages a few weeks later asking how to change the author name, where to add meta descriptions, or worse, why the latest blog isn’t showing up on the homepage.
More often than not, it’s not because the team isn’t capable, it’s because the setup wasn’t truly marketing-friendly.
After working on dozens of Webflow projects, especially those with complex blogs that involve filters, search, tagging systems, and CMS-powered components, I’ve learned this. If you build it with marketers in mind from day one, you’ll save everyone a ton of frustration (and excessive Slack messages).
In this guide, I’ll walk you through exactly how to structure a blog in Webflow that empowers marketing teams to manage content without needing to touch a single line of code or requiring your assistance every time. Let’s get into it.
Why Webflow for Blogs?
Let’s start with the obvious: why use Webflow to power your blog in the first place?
For starters, Webflow provides complete design control while also allowing your clients or teams to manage content through its CMS and Editor modes. That’s a sweet spot for devs and marketers alike.
Here’s why I keep recommending Webflow for marketers with blogs and other resource-heavy content:
- Visual freedom: No rigid templates - you design everything exactly as it needs to look.
- Built-in CMS: It’s powerful, scalable, and easy to customise for different types of content.
- No dev hand-holding needed: Once you set it up correctly, marketers can publish content, update SEO fields, and even reorder content blocks independently.
- Speed and SEO: Webflow sites load fast and come with clean code, SSL, hosting, and on-page SEO settings baked in.
However, (and this is a significant caveat), the out-of-the-box setup won’t always suffice. If you want your blog to be truly marketer-friendly, you’ve got to plan.
Pre-Planning Your Webflow Blog

Before you even open the Webflow Designer, take a beat and talk to the marketing team. Trust me, this step saves you a lot of back-and-forth later.
Here’s what I usually clarify right at the start:
1. What’s the purpose of the blog?
- Is it meant to drive SEO traffic?
- Support product education?
- Share company news or thought leadership?
Knowing this helps you prioritise the right features and fields.
2. What kind of content will be published?
Are they posting long-form guides, short updates, case studies, team spotlights, videos?
Each type of content may require different layouts or CMS fields, so it’s better to plan for this upfront rather than retrofit it later.
3. What fields do marketers need to control?
Most teams will want fields like:
- Blog Title (This becomes the H1 of the blog)
- URL Slug
- Publish Date
- Featured Image
- Summary/Excerpt
- Author (ideally a reference field)
- Rich Text Body
- Categories and Tags
- SEO Title and Meta Description
- Open Graph Image
- Optional fields like Read Time, Related Posts, or CTAs
Top Tip:
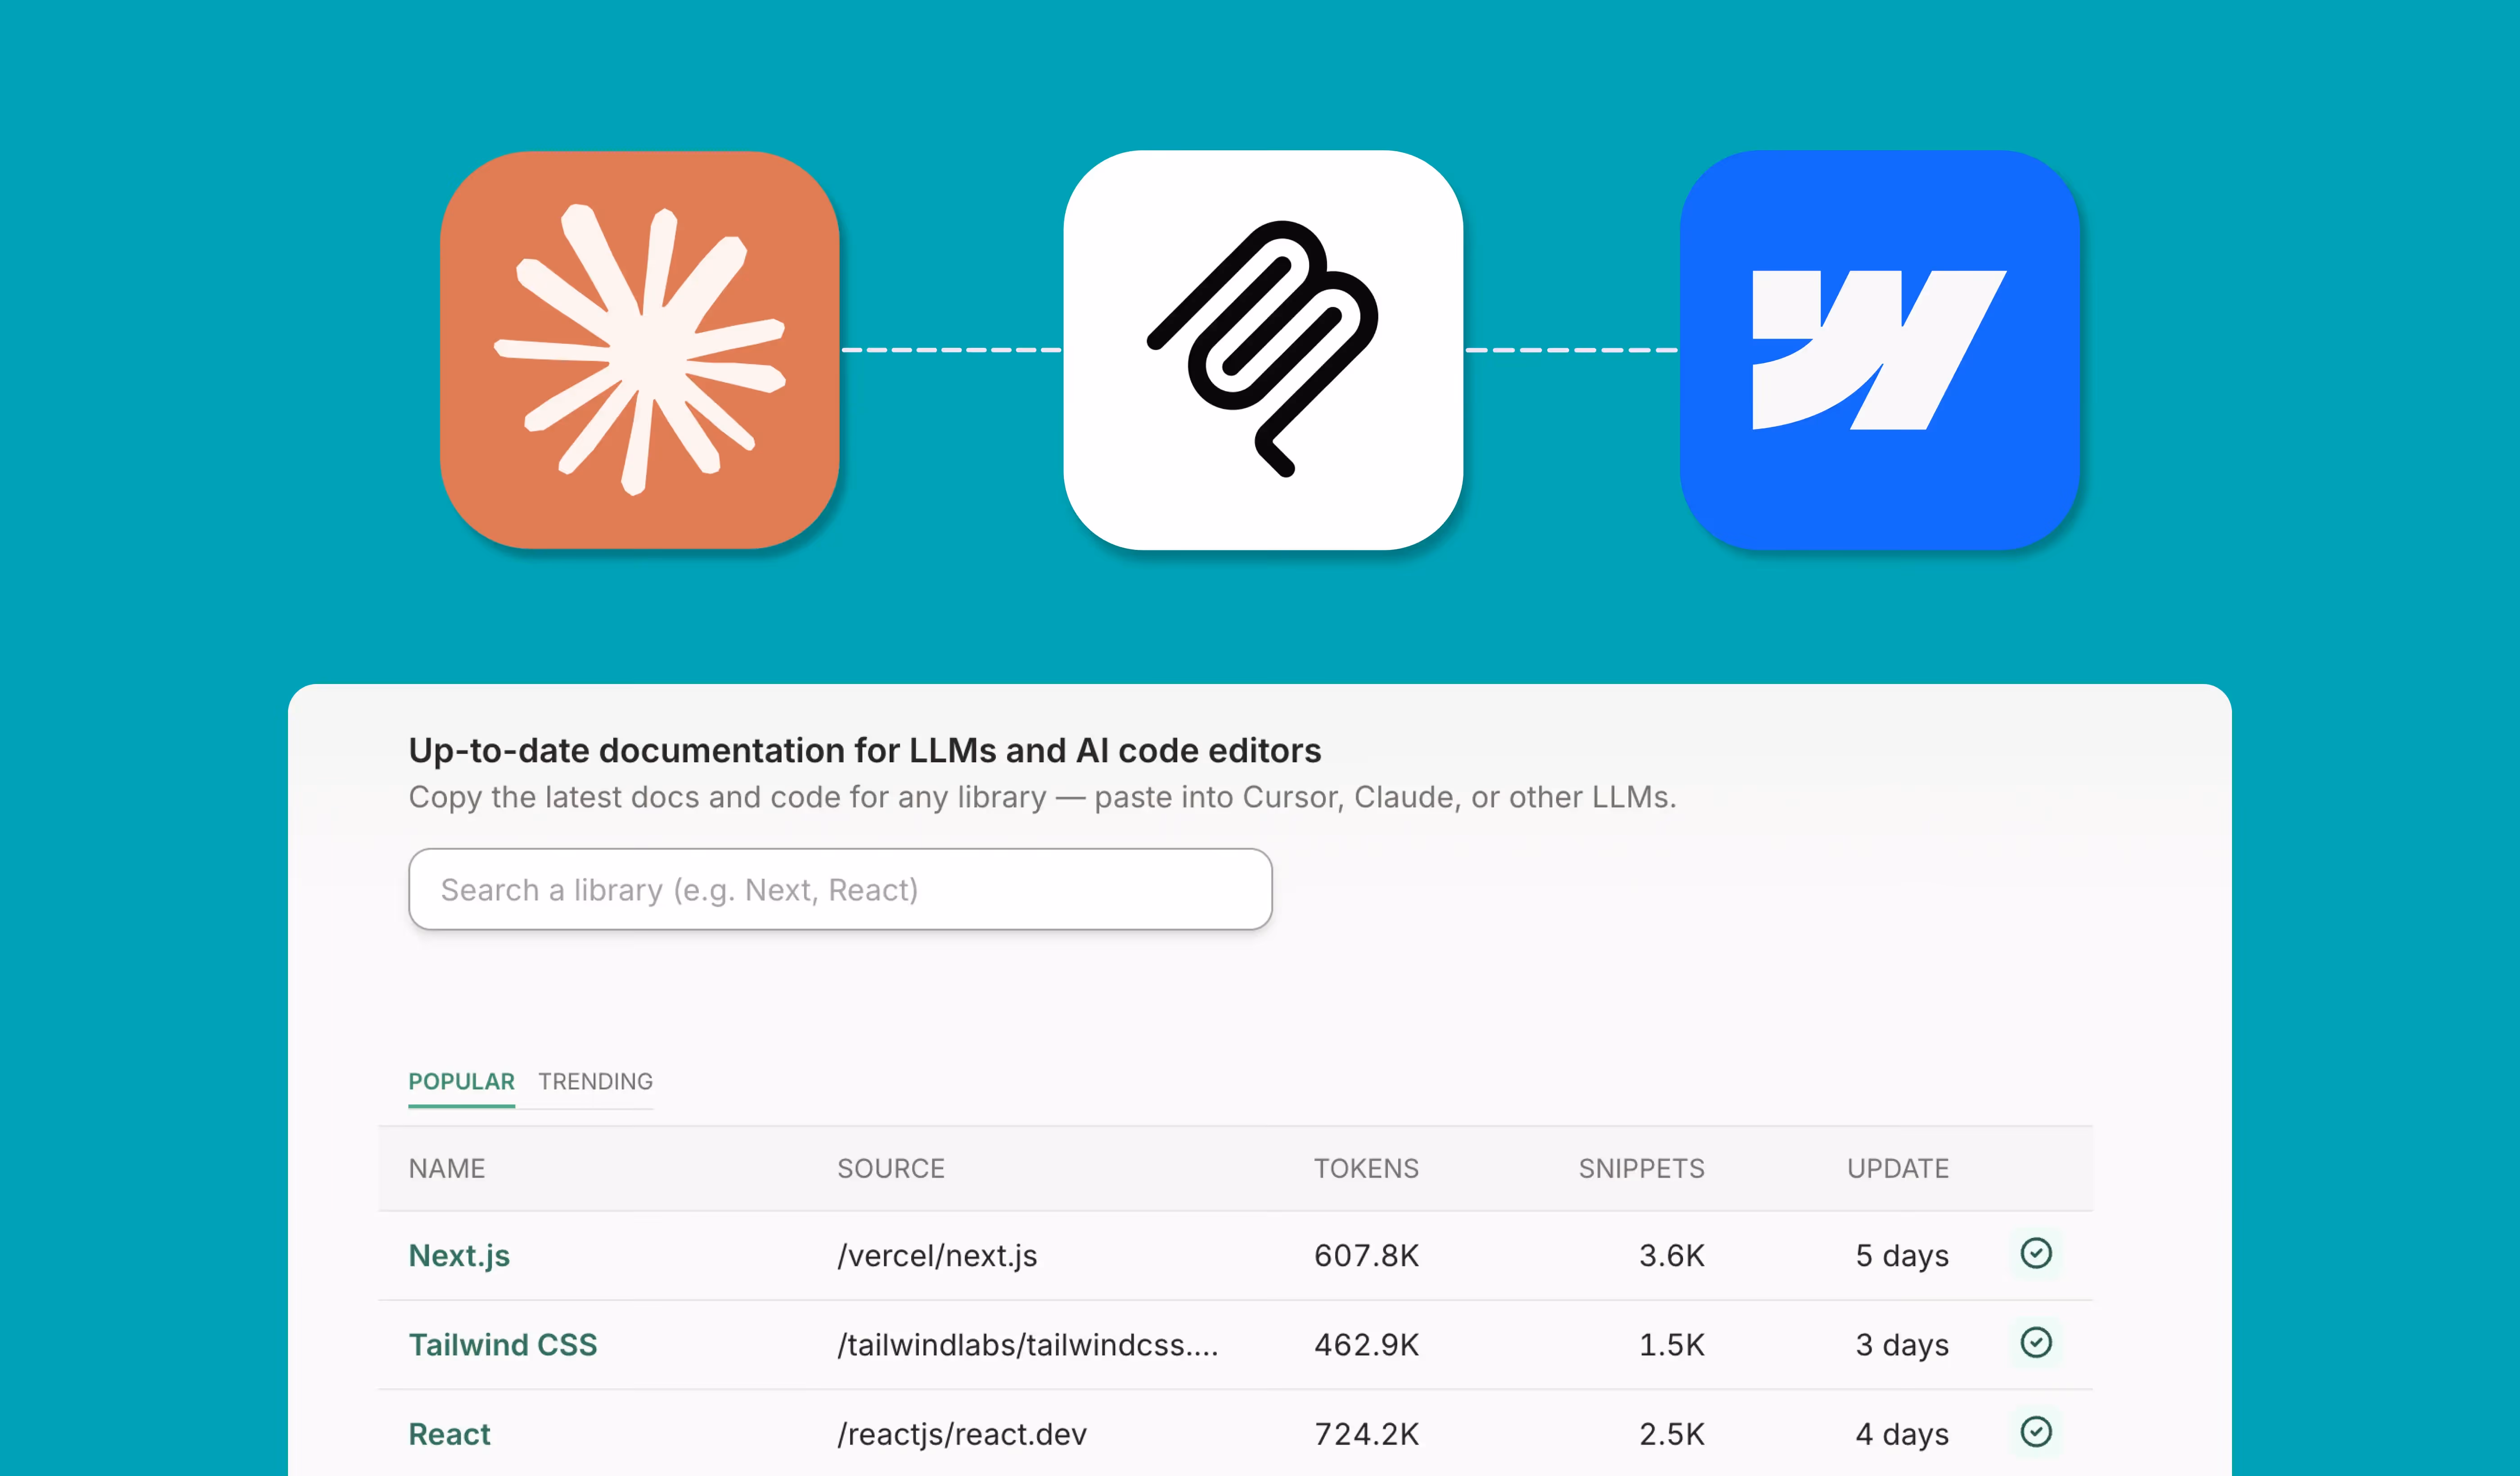
With the advent of AEO replacing SEO, your content should be easy for LLMs to digest. Therefore, FAQs and TL: DRs are great additions to help LLMs digest your content more easily.
And don’t forget: some of these need to appear in Editor Mode, cleanly labelled and easy to complete.
Setting Up the Webflow CMS for a Blog
Now, this is where the magic begins. A blog that’s easy for marketers to manage starts with a well-structured CMS Collection in Webflow. If this part is messy or incomplete, everything else, Editor Mode, filtering, SEO, starts to fall apart.
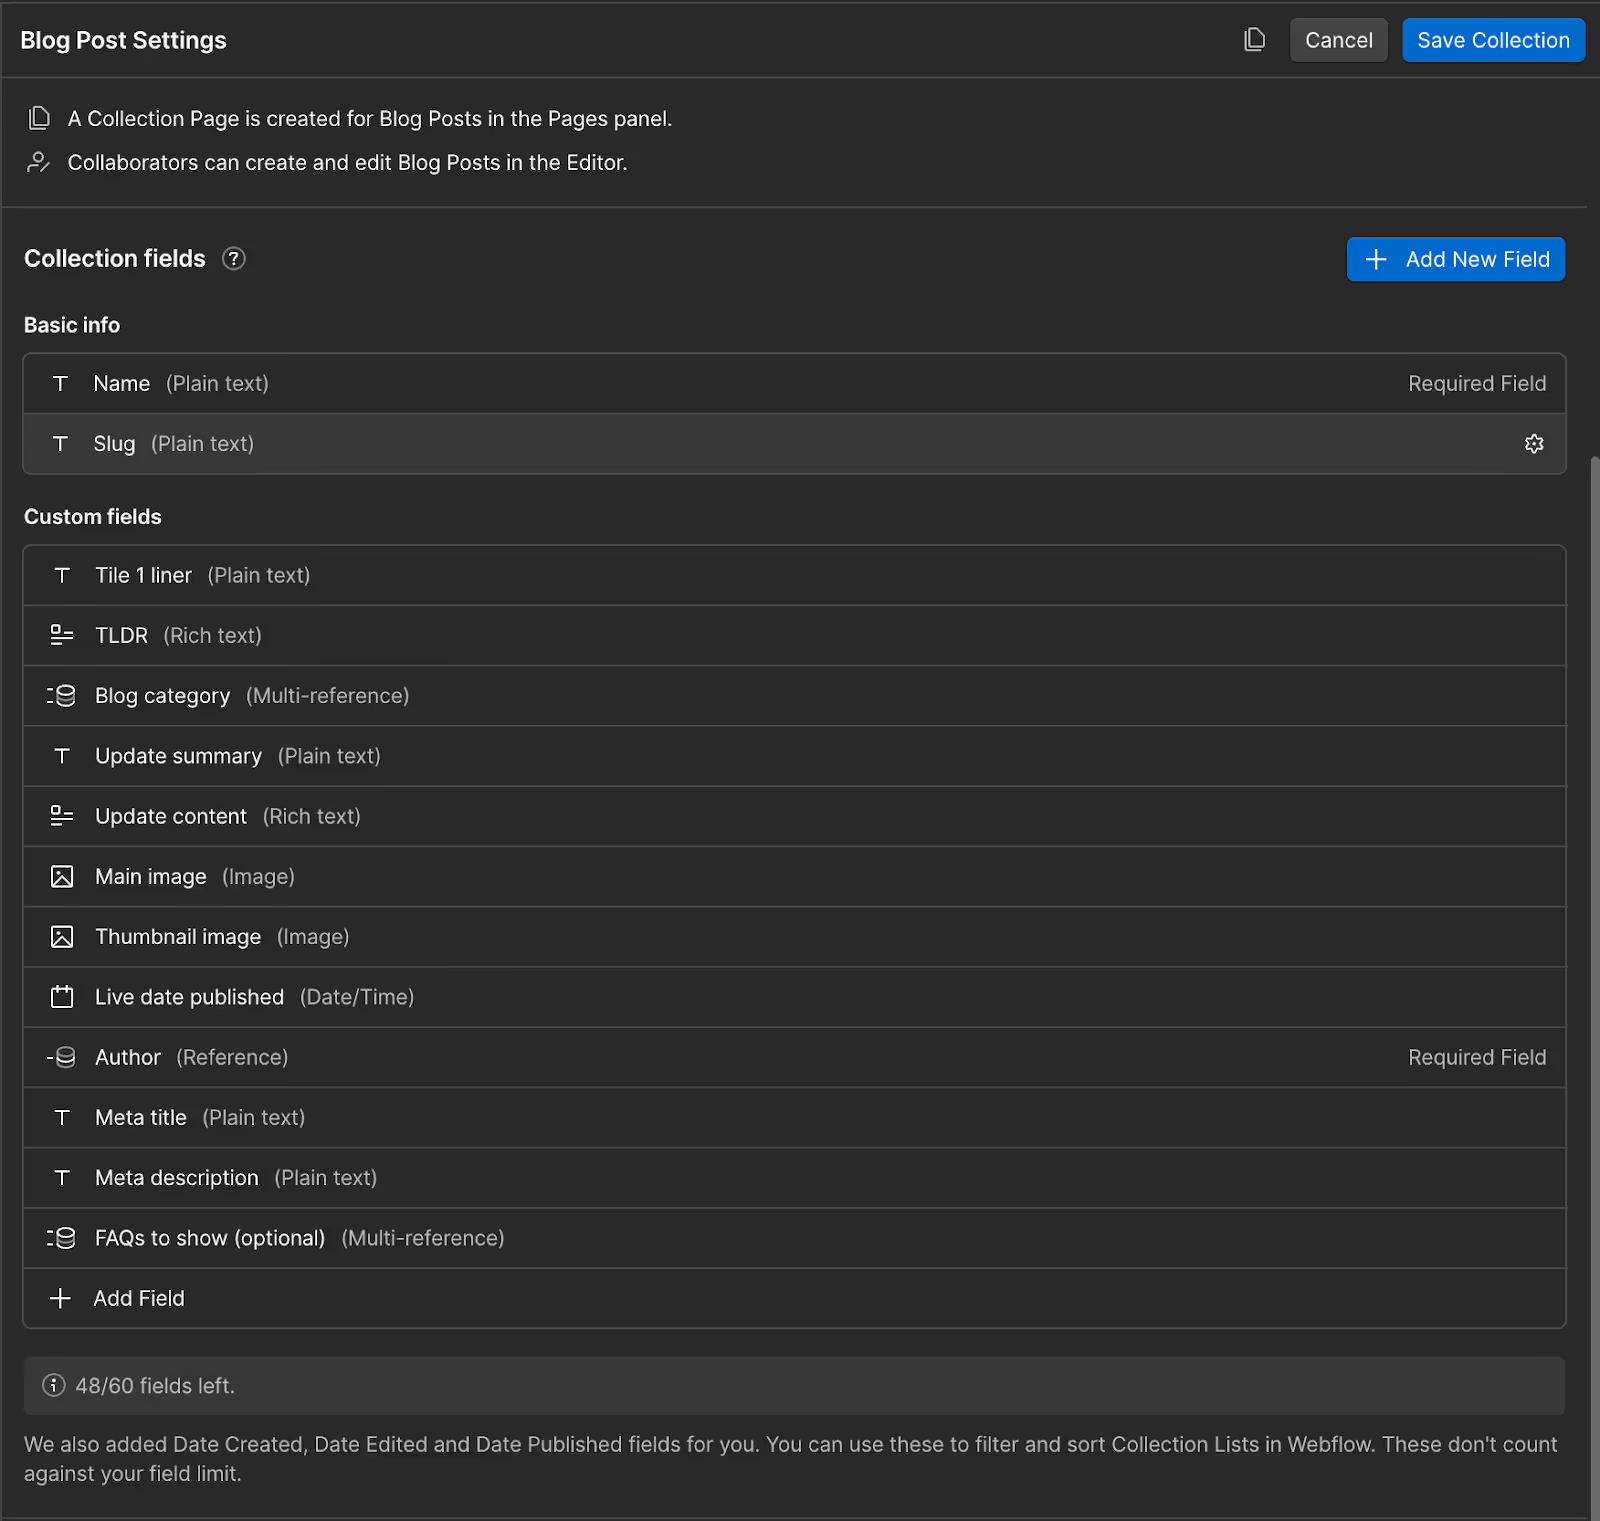
1. Create a Blog Posts Collection
Start by creating a CMS Collection called something like "Blog Posts" or simply "Posts." Then, add the following key fields. These cover both content needs and marketing-friendly controls:
- Name (Plain text): The blog title.
- Slug: Auto-generated from the title or custom.
- Main Image (Image field): Used for the blog card on the listing page or social previews.
- Summary/Excerpt (Plain text): A 1–2 sentence overview for blog cards and SEO.
- Body (Rich text field): The main content.
- Author (Reference): Link to an Author collection - more on that below.
- Category (Reference or Multi-reference): For main blog categories like ‘News’, ‘Guides’, ‘Case Studies’.
- Tags (Multi-reference): Useful for filtering or related posts.
- Publish Date (Date field): This field can be automated or manually selected.
- Estimated Read Time (Number or Plain text): Optional, but helpful.
- SEO Title & Description (Plain text): Customisable metadata.
- Open Graph Image (Image field): For social media previews.
- Featured Post (Switch): Mark certain posts to display in hero sections.
- Meta Title: Great for getting granular in setting a specific meta title per post.
Once this structure is in place, you’ve laid the groundwork for a powerful and easy-to-manage blog.
2. Set Up Linked Collections for Authors & Tags
Instead of typing in the author’s name every time, create an Authors Collection with fields like:
- Name
- Job Title
- Bio
- Profile Image
- Social links (LinkedIn, Twitter, etc.)
Top Tip: Adding an author is more important than ever. It lends credibility to the data, especially if the author has a reputable social profile.
Then, use a Reference Field in your Blog Posts Collection to dynamically pull that information. This way, if the author updates their bio, it automatically reflects across all their posts.

The same logic applies to Tags or Categories - set them up as a Collection and link them using Reference or Multi-reference fields. Adding tags as reference Collections allows dynamic filtering later (hello Jetboost) and keeps your content tidy.
3. Build with SEO in Mind
It’s tempting to skip meta fields and just rely on defaults, but marketers will thank you if they can update:
- The Meta Title (customised per post).
- The Meta Description (make this editable).
- The OG Image (especially for LinkedIn, Twitter, and Facebook sharing).
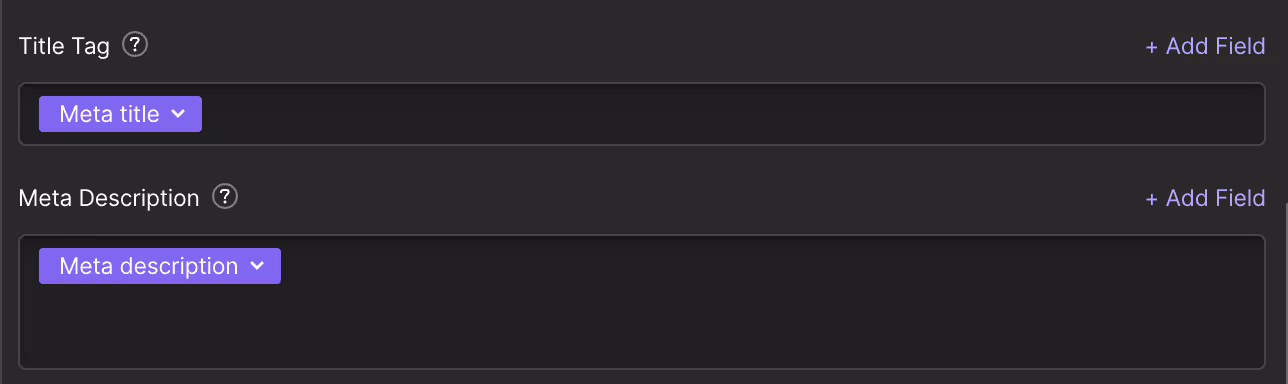
Webflow lets you map these fields directly in the Page Settings for each Collection Template. Once mapped, the Editor experience becomes seamless.
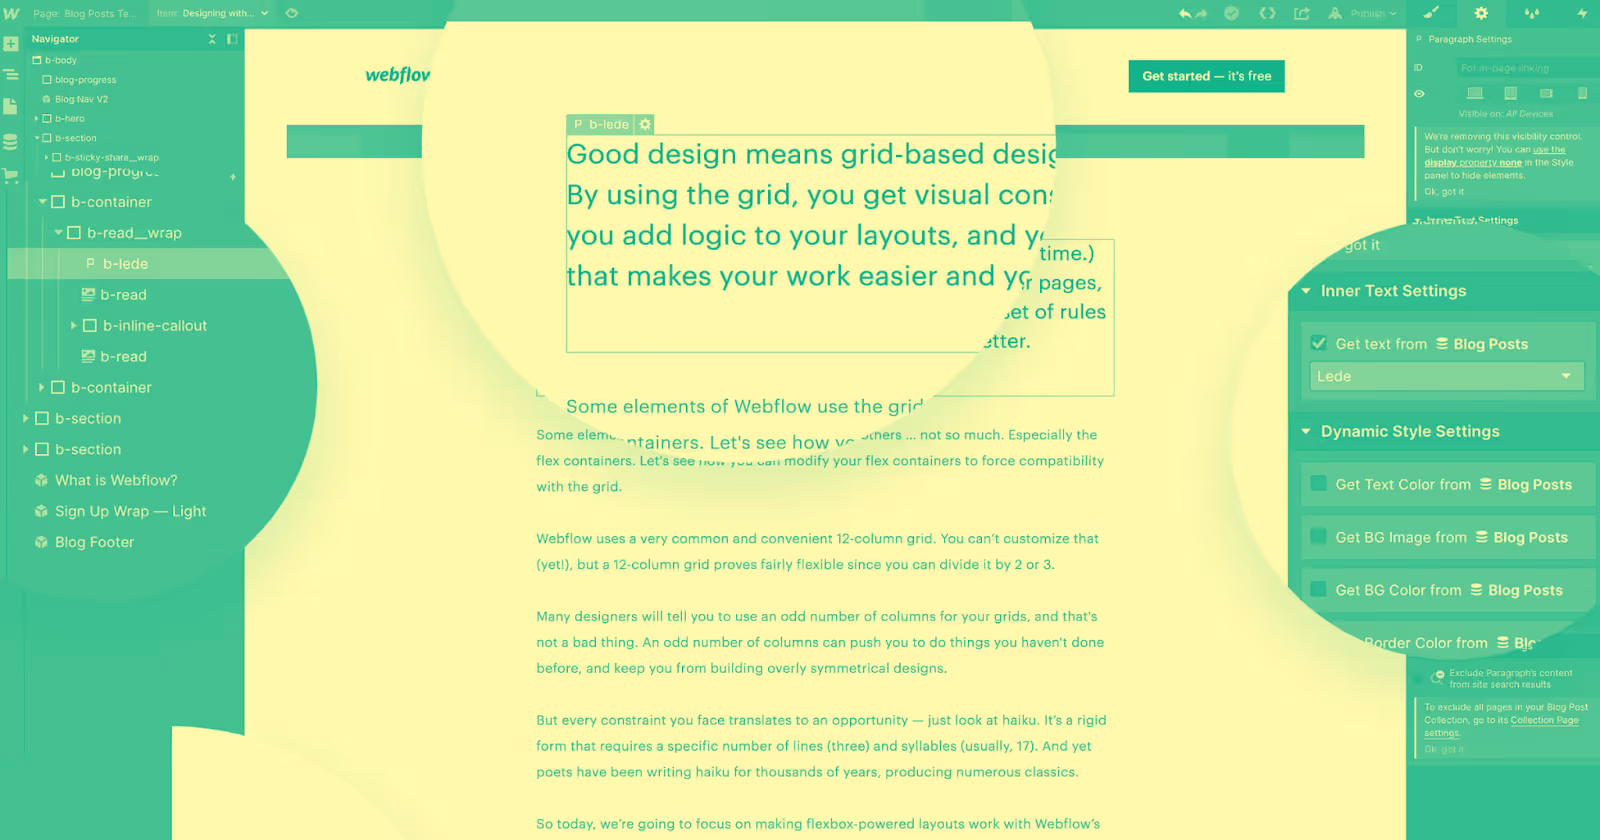
Designing Blog Templates with Scalability in Mind
You’ve nailed the backend. Now, let’s make the blog post page look great and function intuitively; this is where many developers over-engineer things or hardcode sections that marketers can’t edit - don’t be that developer.
1. Create the Blog Post Template Page

Webflow auto-generates a template for each Collection. On the Blog Post template, dynamically bind content like the title, date, author, and body.
Structure the page with modular sections, such as:
- Hero (Title, date, author, category)
- Cover Image
- Content body (Rich Text)
- Author bio block (pulled from reference field)
- Related Posts (filtered by tag/category)
- Optional CTAs (like newsletter signup or ebook download)
Make use of conditional visibility. For example, only show the “Featured Image” if one exists, or only show the “Read Time” if the field isn’t blank. It’s a small touch that keeps the layout clean and avoids blank sections.
2. Use Global Components for Reusability
If you’re adding CTAs, email signups, or footers within the blog post, use Components. That way, marketing teams can update CTAs once in the component, and the changes are reflected across every post. This is perfect for time-bound offers, product launches, or lead magnets.
3. Design for Readability First
Use good typography, spacing, and a content-first layout. Stick to:
- Clear H1–H3 styling.
- Plenty of white space.
- Consistent spacing between paragraphs, quotes, lists, and images.
Paddle Insights: Blogs are read across both mobile and desktop devices, so test the design across various breakpoints to ensure optimal readability. Add "max-width" to body content to avoid that full-width wall of text.
Creating an Easy-to-Navigate Blog Index Page
Your blog index (or listing page) is often the most frequently visited part of the blog. If this page isn’t easy to navigate, marketing teams will constantly ask you to move things around, reorder posts, or add filters.

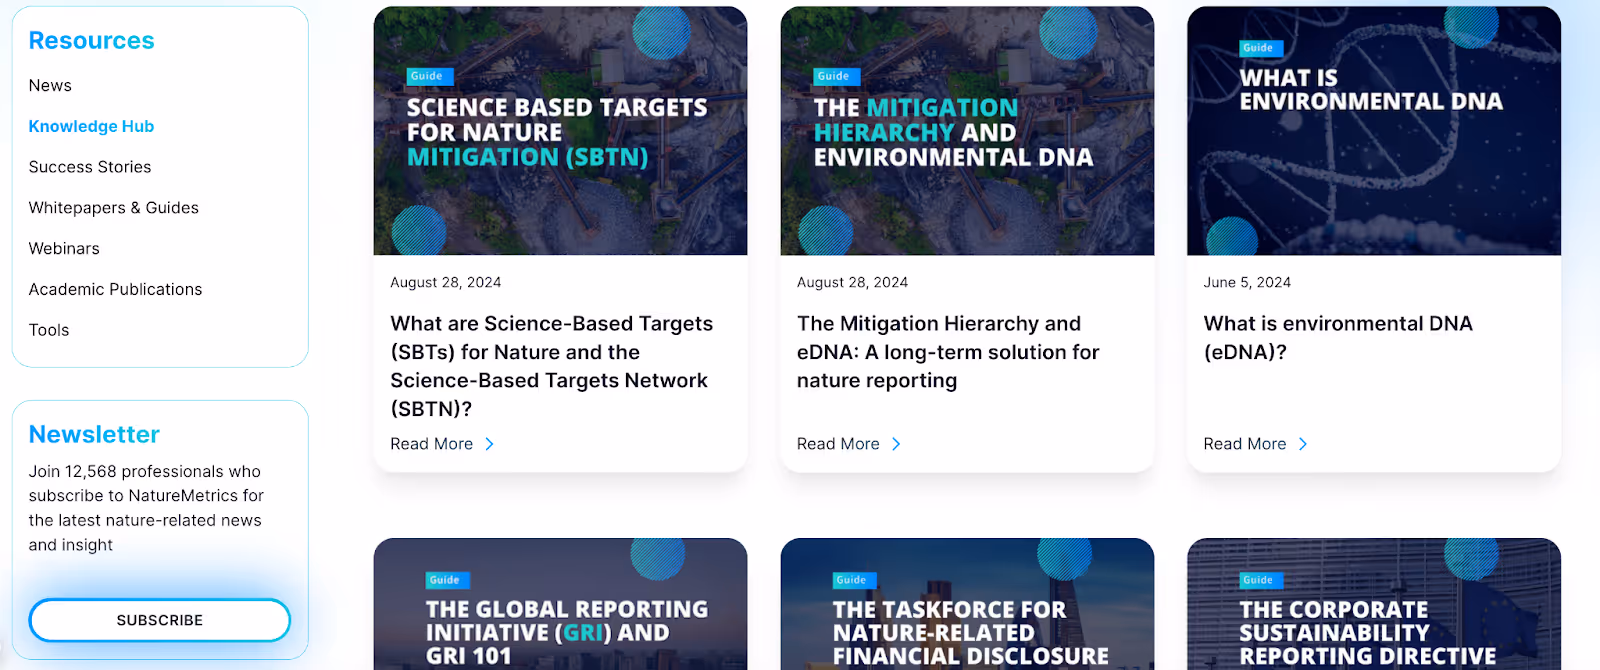
1. Set Up a Collection List for Blog Posts
On your /blog or /insights page, drag in a Collection List bound to your Blog Posts. Use a clean card design that includes:
- Featured image
- Title
- Summary
- Publish date
- Category or tag
- Link to the full post
Let marketers choose the sort order: newest first, or show “Featured” posts on top using the Featured Post switch field.
2. Add Filters by Category or Tag
There are two approaches:
- Finsweet Attributes filtering
Jetboost filtering
I’ve used Jetboost on several client projects - it’s fast, scalable, and lets marketing teams control the filtering UI without needing to rebuild anything. However, Finsweet Attributes is our go-to solution. It is free, works like a charm, and once you’ve set it up, it is simple to repeat.
Add filtering options like:
- Blog categories (dropdown or pill-style buttons)
- Tags (multi-filter support)
- Featured or Popular posts
3. Add Search and Pagination
Enable Webflow’s Site Search and restrict it to the Blog Collection. Style a dedicated search bar and results page. It’s not Google-level search, but good enough for most blogs.
Also, enable pagination on the Collection List so the page doesn’t get too long as the blog grows. For infinite scroll, consider a plugin like Finsweet's Attributes or Jetboost's load more feature.
Making the Blog Editor-Friendly
Webflow’s Editor Mode is powerful, but only if you’ve set it up intentionally.
1. Use Clear Labels for All CMS Fields
When adding fields to your CMS Collection, name them like a human would—not like a developer.
So instead of:
- “SEO_Title” → name it “SEO Title (for Google)”
- “Summary” → name it “Short Summary (for Blog Cards)”
You can even include help text under each field when setting it up. For example:
“This is the short version that shows up on the blog homepage. Keep it under 150 characters.”
These little touches make a big difference.
2. Test in Editor Mode Before Handoff
Before launching, switch to Editor Mode and use it like a marketer would:
- Could you please find and edit the content quickly?
- Are any unnecessary fields exposed?
- Does the layout update in real time?
Create a checklist and test editing everything, from post titles to meta descriptions and author bios. If anything is unclear, address it before the client raises an issue after the handoff.
3. Hide Design-Only Elements From the Editor
If you have layout toggles, dev-specific fields, or any content not intended for editing, don’t expose it in the CMS; instead, mention it in the help text.
Keep the experience clean, focused, and fail-proof. The fewer ways someone can accidentally break something, the better.
Workflow Tips for Marketing Teams
Now that the CMS and Editor are set up, it’s time to build confidence in the team that will use them. A few process tips can make their experience smoother—and reduce the number of late-night “hey quick question…” messages in your inbox.
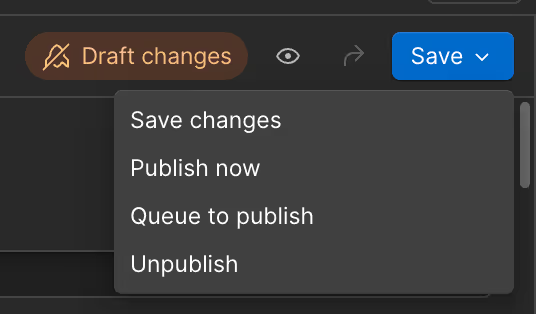
1. Draft, Review, and Schedule with Ease
Webflow’s draft and schedule features are a dream for content teams:
- They can save drafts and come back later
- Schedule future publish dates (perfect for campaign posts)
- Preview how the blog will look live before publishing.
Encourage your team to use the Preview button in Editor Mode, as it provides real-time layout feedback without the risk of going live.
2. Use the Editor Roles Wisely
If you’re working with a larger organisation, don’t give everyone admin access.
Use roles like:
- Content Editor: For writers and marketers who publish and update posts
- Admin: For strategic roles or those needing full site control.
It’s about control, but also confidence—people are less likely to break things when they have just what they need.
3. Keep a Centralised Blog Operations Doc
As a bonus, I’ve used for some clients: a simple Google Doc or Notion page with:
- Blog formatting tips
- SEO best practices (e.g., keep meta descriptions under 155 characters)
Where to find image dimensions - How to add CTAs or forms inside posts
You build it once, and it becomes a mini playbook for the team.
Enhancing Blog Functionality Without Code
One of the best things about Webflow is how much you can do without touching custom code, especially when paired with tools like Jetboost, Finsweet Attributes, or Zapier.
Here’s how to add serious functionality while keeping things marketing-friendly:
1. Add Real-Time Tag Filtering with Jetboost
Set up Jetboost’s dynamic filter to allow users to click a tag or category and instantly see filtered blog posts—no reloads.
Even better, marketing teams can add or remove tags within the Webflow CMS, and the filtering system updates automatically—no dev rework needed.
2. “Read Time” Without Custom Code
You can go the code route with a JavaScript snippet, but I often just add a manual “Read Time” field in the CMS. Marketers estimate the time (e.g., 3 minutes, 5 minutes) and display it below the title.
Simple. Clear. Easy to update.
3. Add Embedded CTAs and Forms
Want lead gen CTAs in the middle of a blog post?
Use the Rich Text field’s Embed option to add a Webflow form, Calendly embed, or Typeform. You could also set up Components for newsletter blocks or gated downloads that the team can drag and drop into new pages.
4. Automate Workflows with Zapier
Want to:
- Post new blogs to Slack or Discord?
- Send them to Mailchimp or ConvertKit?
- Auto-create Notion pages from new blog posts?
Hook up Webflow CMS to Zapier, and automate it all—no custom backend required.
Common Mistakes to Avoid
Even experienced developers can fall into these traps when building a blog in Webflow. Avoiding them will not only save you time but also make life easier for the marketing team in the long run.
1. Hardcoding Content Instead of Using the CMS
Tempting as it is to just drop in a static “Related Posts” or author section when you’re designing, don’t. If it’s something that will change or repeat, it belongs in the CMS.
2. Ignoring SEO Fields
Don’t assume marketers will “just figure it out.” Without dedicated SEO fields (meta title, meta description, and OpenGraph image), they’ll either leave them blank or bug you every time they need to update them.
3. Overcomplicating the Layout
Just because you can add custom animations or a dozen nested divs doesn’t mean you should. Blog posts should be readable, mobile-first, and optimised for performance. Keep the layout modular and intuitive.
4. No Content Strategy Behind Tags/Categories
If you don’t help the team think through categories and tags, they’ll end up with 15 overlapping tags that confuse users and break filtering. Start with 4–6 clear categories, and use tags selectively.
5. No Guidance for the Marketing Team
You’ve built the system, but without onboarding or a short tutorial doc/video, teams may still struggle. A quick Loom walkthrough or Editor manual goes a long way.
Bonus: Tips to Future-Proof Your Webflow Blog
Webflow gives you room to grow, but that doesn’t mean your blog is automatically future-proof. Here’s how to make sure your blog scales as the business grows.
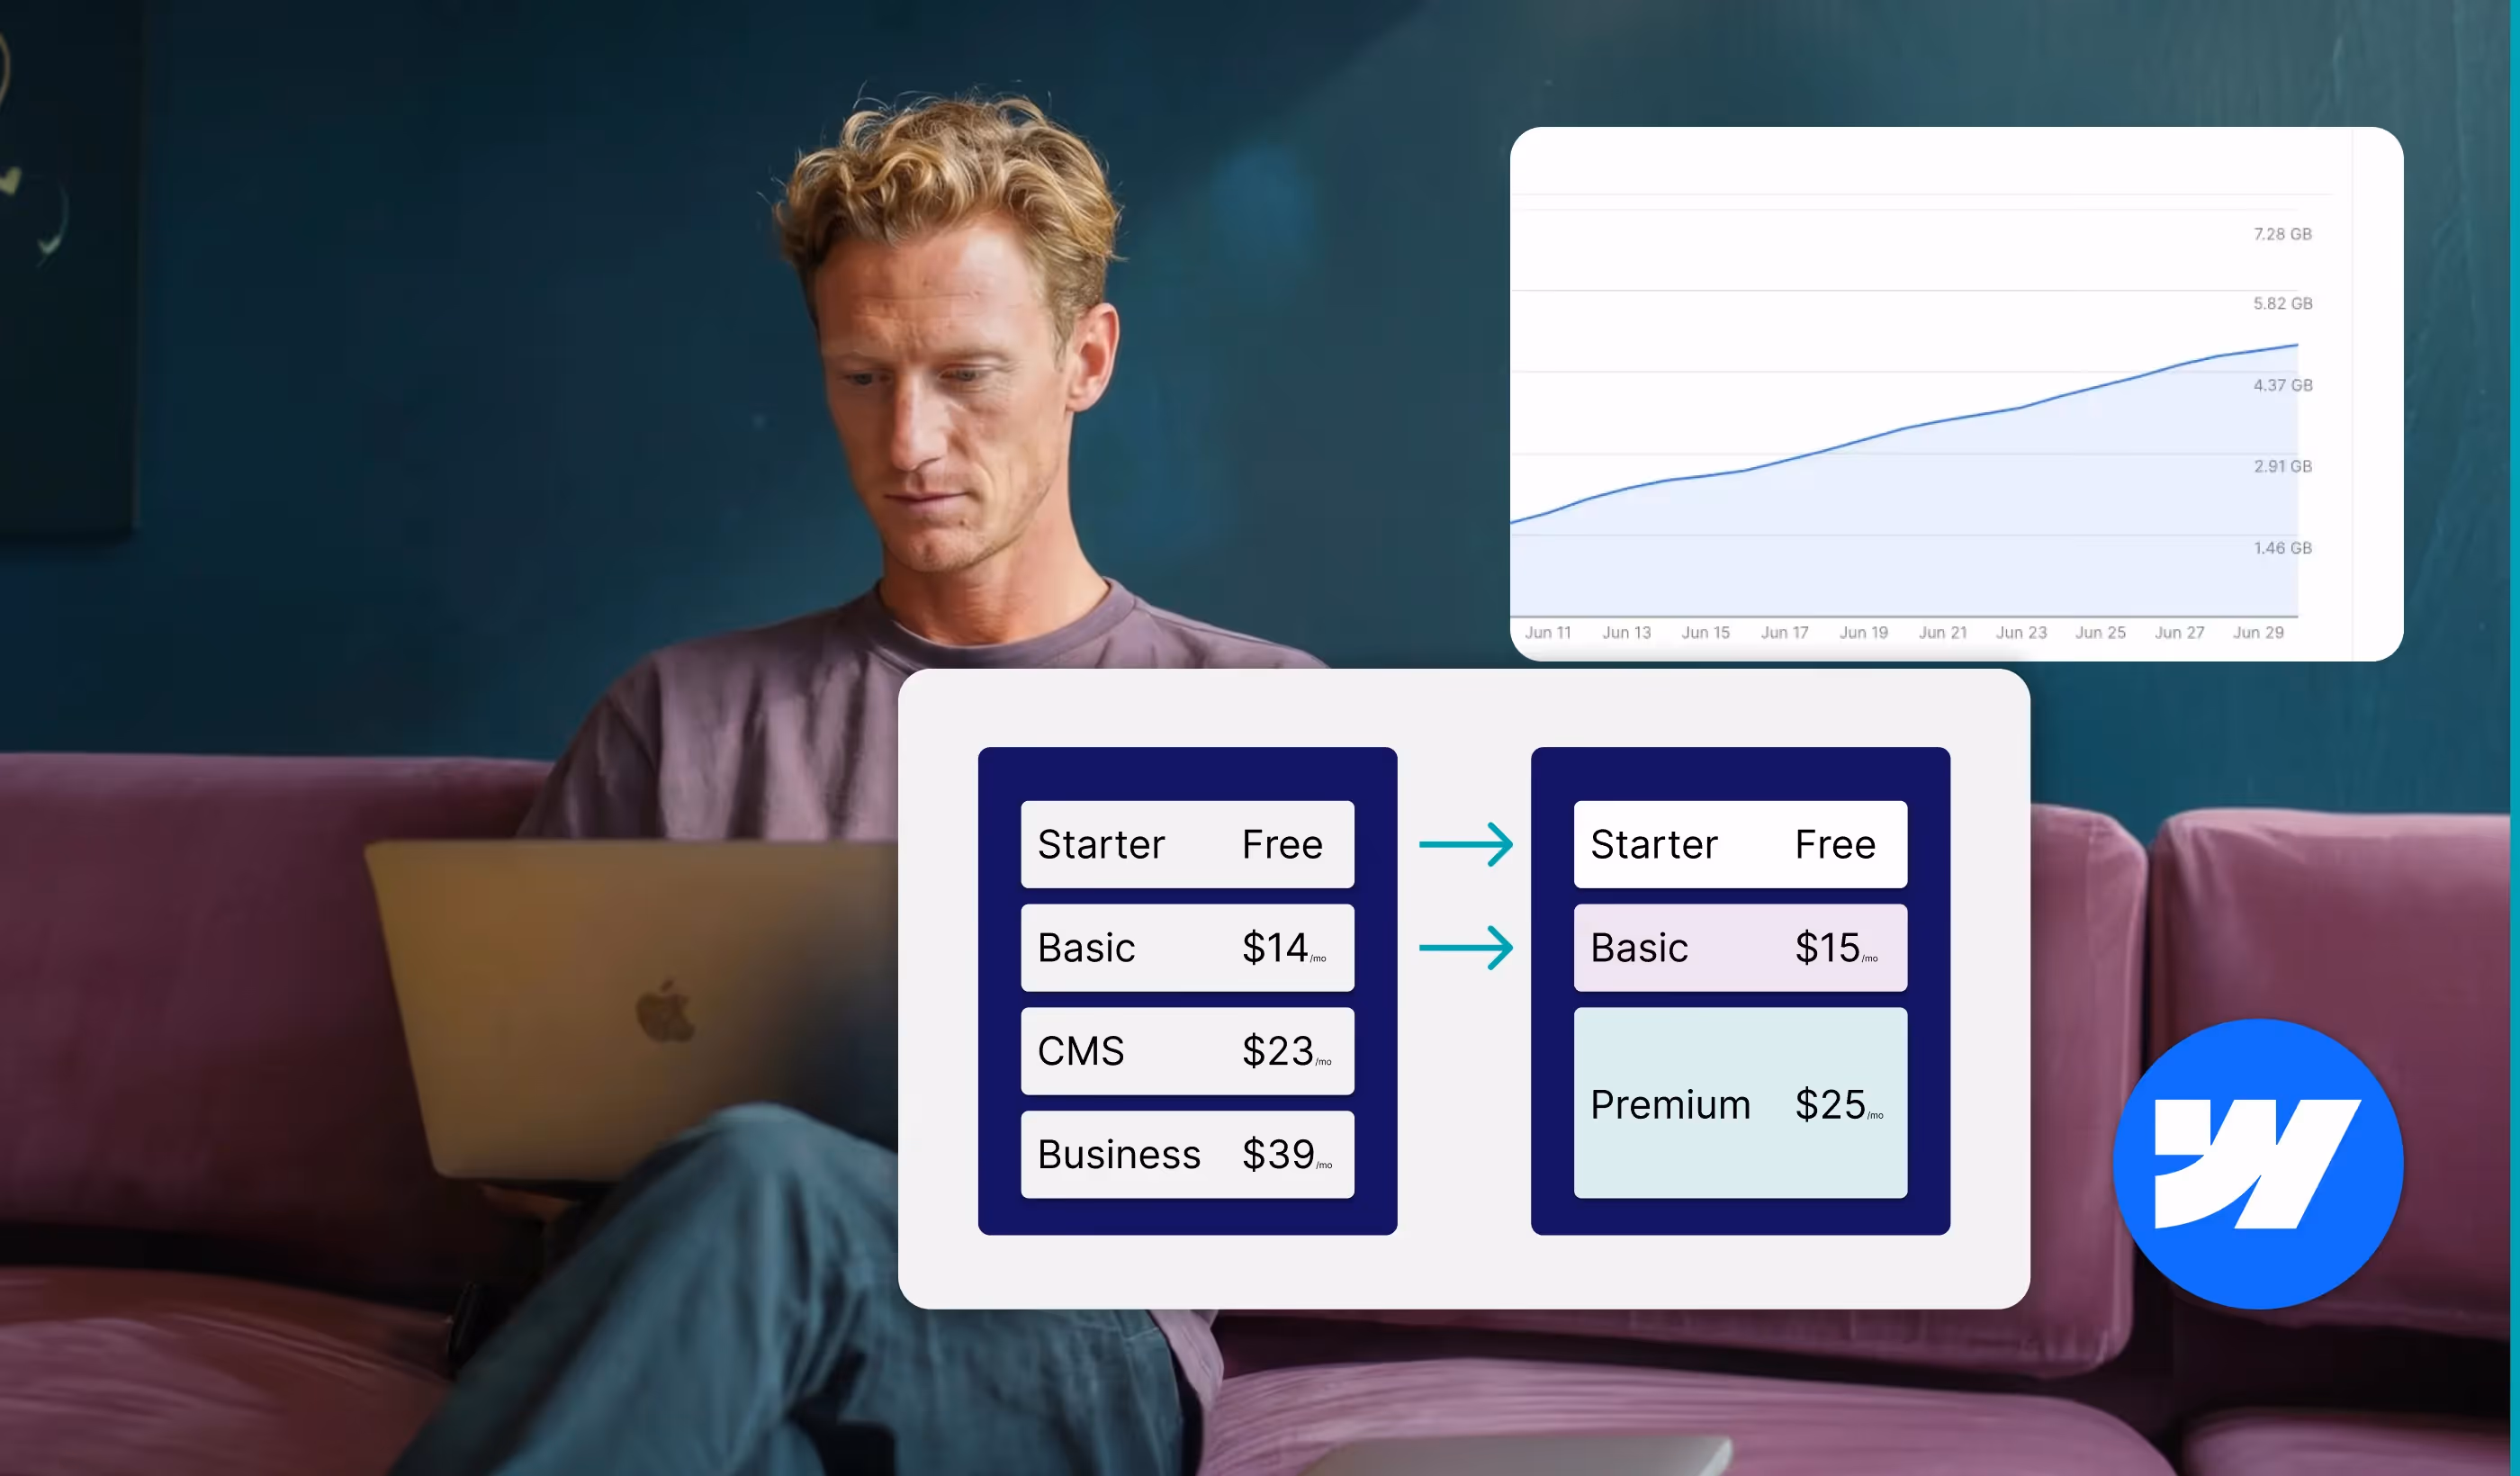
1. Plan for Hundreds of Posts
Webflow’s CMS limit (10,000 items for most plans) is generous, but pagination, performance, and organisation still matter. Structure your blog listing page with filters and pagination from the outset to avoid complications later.
2. Build With Automation in Mind
If your content calendar expands, connect your blog with:
- Airtable or Notion for planning
- Zapier or Make for publishing workflows
- Analytics tools (Google Tag Manager, GA4) for performance insights.
This makes the blog not just easy to manage, but a content engine.
3. Consider Multi-language Support
If the brand might go global, build your CMS fields and layout with localisation in mind. Webflow’s new native localization features (launched in 2024) make it easier to manage multilingual content within the same CMS.
4. Add CMS-Powered Sections
Consider giving the team control over:
- CTAs
- Author pages
- Popular post sliders
- Category landing pages
The more you CMS-ify, the less they rely on dev hours.
Conclusion
Creating a blog in Webflow that’s marketing-team-friendly isn’t just about building pages; it’s about setting up a system. One that’s scalable, intuitive, SEO-optimised, and automated where it matters.
If you take the time to structure your CMS thoughtfully, prioritise Editor Mode experience, and equip the marketing team with simple tools, they’ll actually enjoy using the blog. And you? You’ll stop getting those 11 PM “how do I…” messages.
Need further assistance? Contact us.

Author
Fact Checked By

%20(1).avif)


.avif)


.avif)


%20(1).avif)
%20(2).avif)
%20(1).avif)
.avif)
.avif)
%20(1).avif)
.avif)

.avif)
.avif)
.avif)
.avif)
.avif)
%20(1).avif)
.avif)
%20(1).avif)

.avif)

%20(1).avif)
%20(1).avif)


%20(2).avif)
.avif)


.avif)

.avif)
.avif)
.avif)
.avif)
.avif)
.avif)
.avif)
%2520(1).avif)
%2520(1).avif)
.avif)
%2520(1).avif)
%2520(1).avif)
%2520(1).avif)
%2520(1).avif)
%2520(1).avif)
%2520(1).avif)
.avif)
.avif)


