
.svg)
.avif)
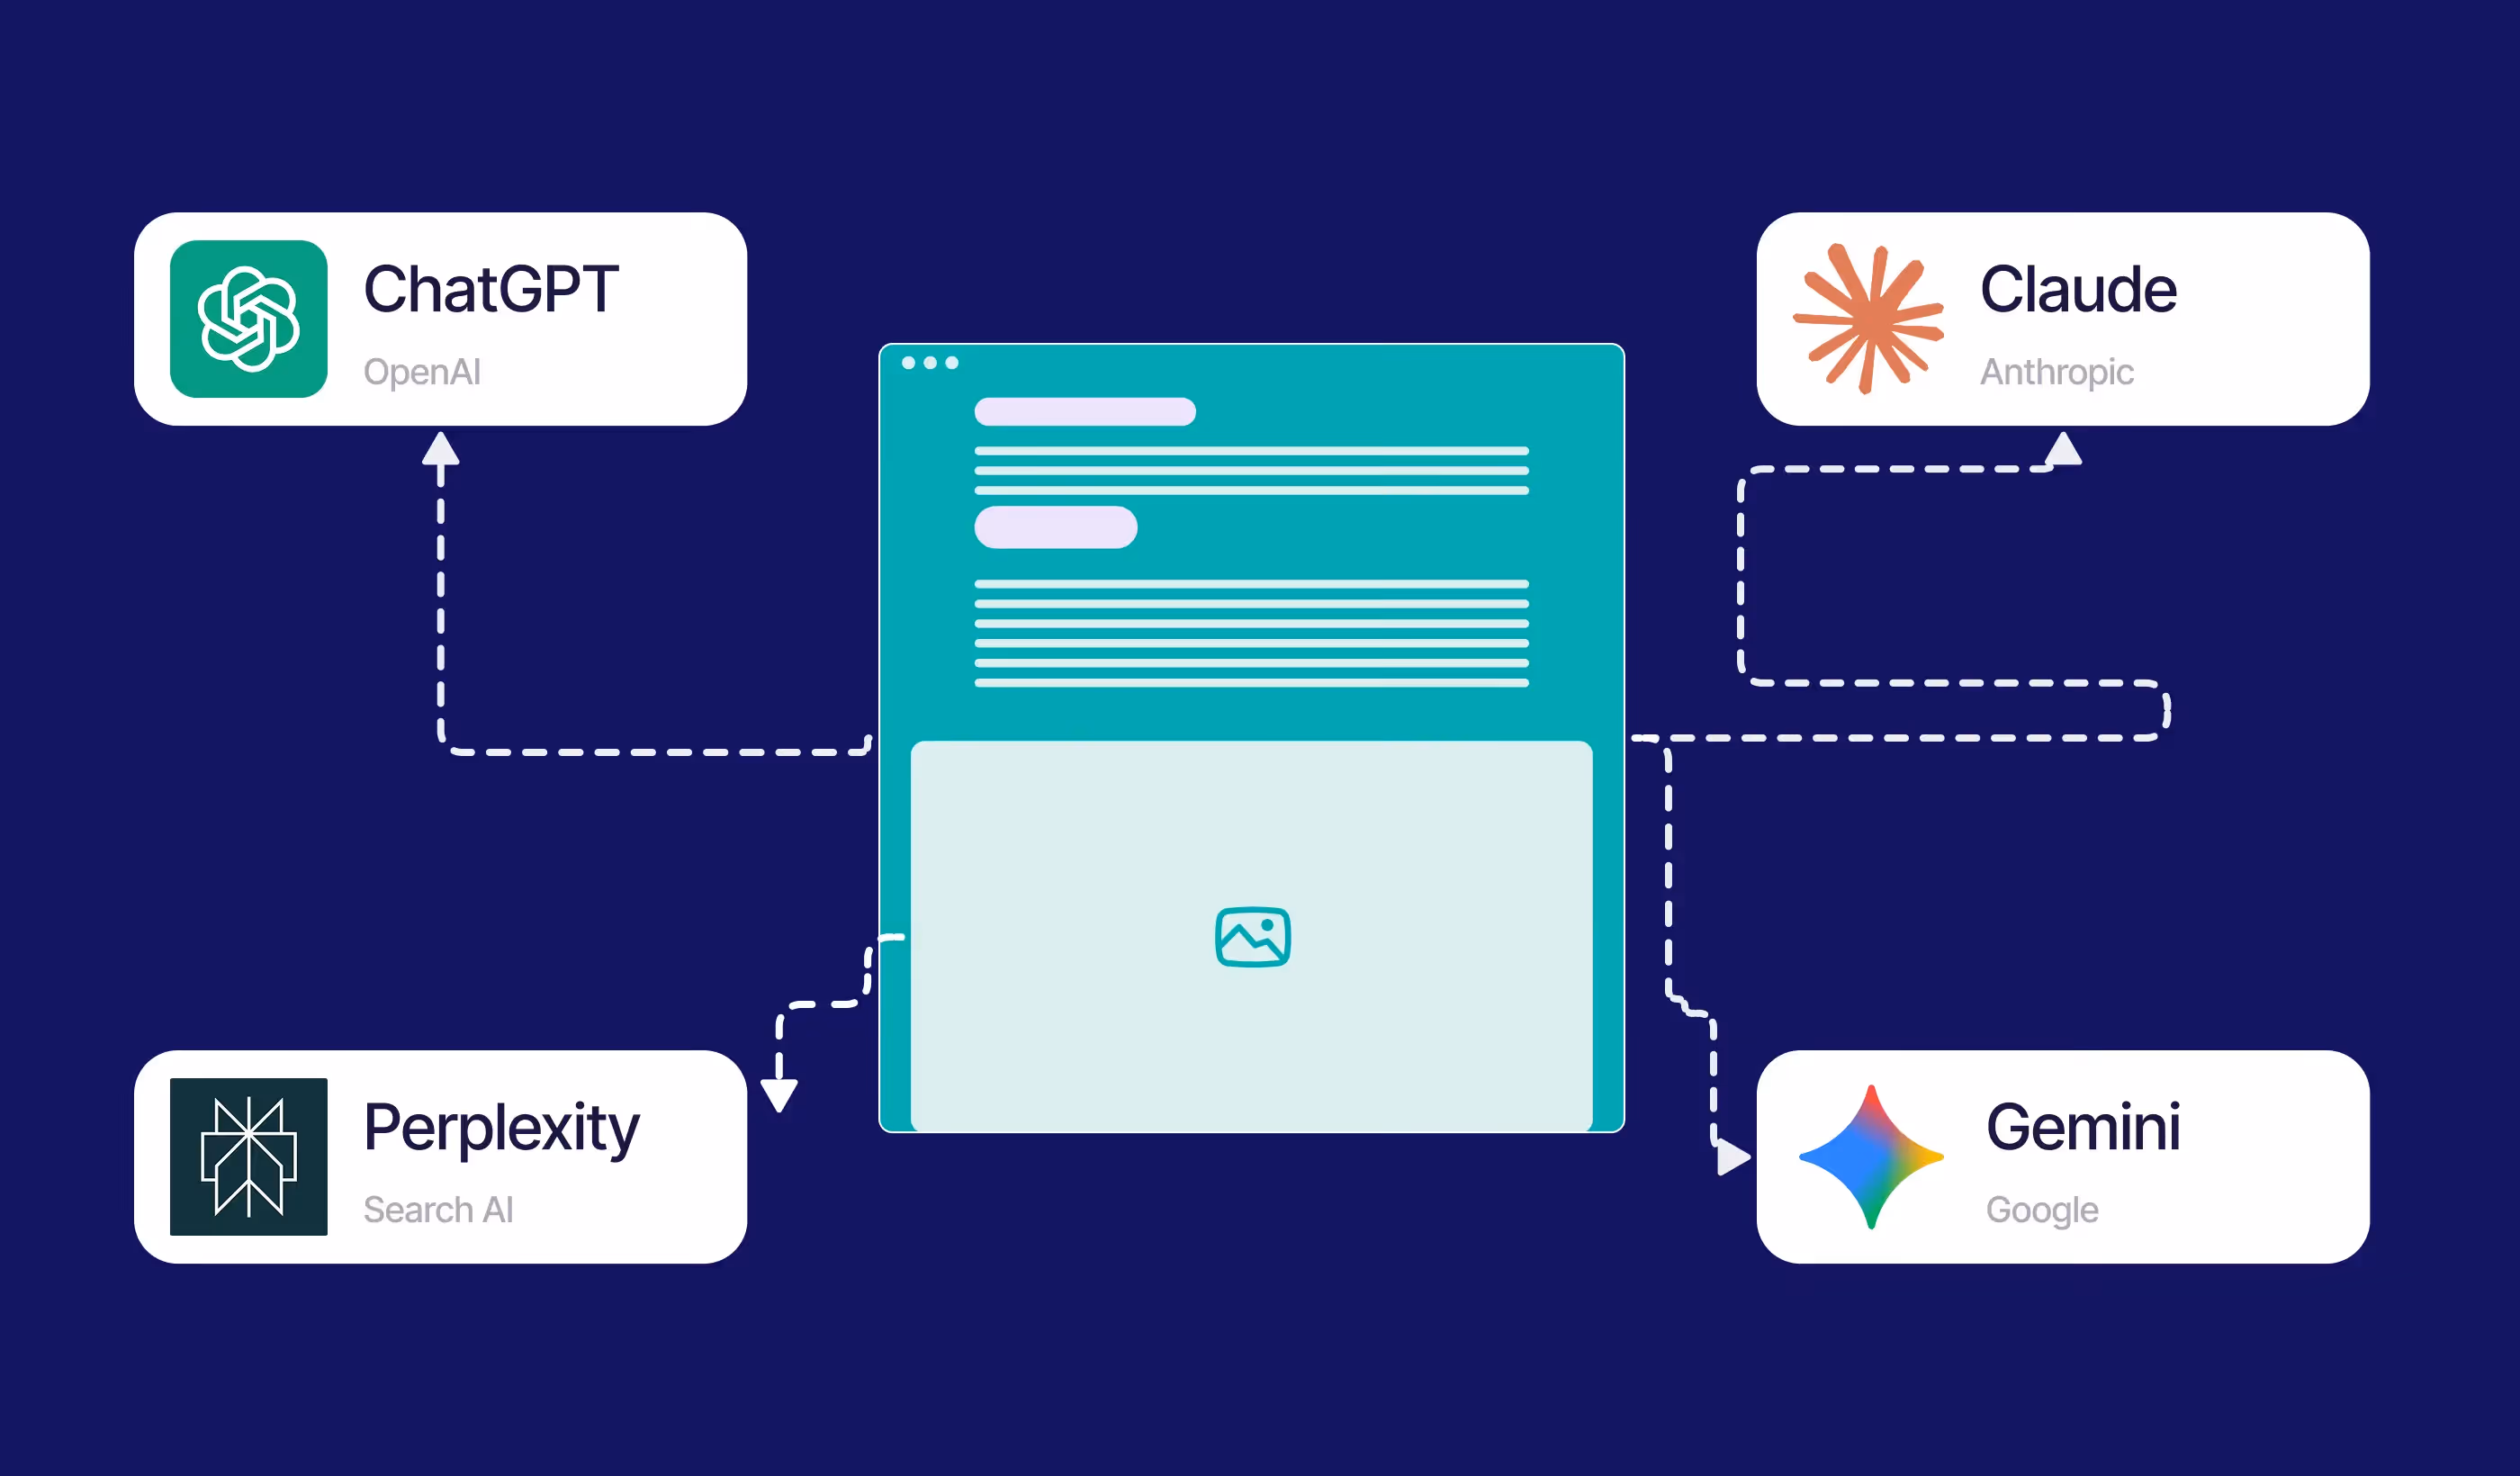
- Webflow MCP connects your site straight to AI tools like ChatGPT, Cursor, and Claude.
- Automate CMS updates, SEO fixes, and publishing without writing API calls.
- Set up a lightweight server with Node.js, Zapier MCP, or Xano.
- Let AI manage content, tidy your SEO, and push updates live.
- Build smarter, real-time workflows around the data your site already holds.
1. Why Webflow MCP matters
Webflow has always pushed what no-code can do. Then AI workflows showed up with a new problem: how does a website actually talk to AI agents in real time, without custom APIs or someone updating things by hand?
That gap is what Webflow MCP fills.
MCP (Model Context Protocol) lets AI assistants like Cursor, Claude, or your own agents work directly with your Webflow projects. No separate integration for every action. Instead of wiring up a fresh build every time you want to update a CMS item, publish a change, or sync content, MCP gives you one live bridge between your Webflow site and AI.
For developers, agencies, and marketing teams, that means faster automation, content you can manage in real time, and decisions powered by data your site already holds.
It is one of the more useful backend additions Webflow has shipped in a while. Content, automation, and AI stop sitting in separate boxes and start working together.
If you want your Webflow site ready for the AI era, MCP is worth understanding now.
2. What is Webflow MCP?
Webflow MCP is a lightweight, intelligent server setup that lets AI systems query and change your Webflow data on the fly.
Instead of hardcoding integrations, MCP sits in the middle and:
- Listens to requests from your AI assistant
- Fetches or changes Webflow data live through the API
- Sends back structured, useful responses in real time
In plain terms, MCP makes your Webflow project AI-readable and AI-writable.
Here is how it works:
- You set up a lightweight Node.js server, or a secure endpoint via tools like Xano or Zapier MCP.
- That server connects to your Webflow account using a Webflow API token.
- When an AI agent like ChatGPT, Cursor, or Claude sends a command (say, "List my latest CMS blog posts" or "Update the SEO title of a page"), the MCP server processes it and talks to Webflow instantly.
Without MCP, you would be writing API calls, juggling auth tokens, parsing responses, and handling errors and retries yourself.
With MCP, that heavy lifting is already done. It turns the complexity into a handful of config steps.
So it suits:
- AI content updates
- Automated site tweaks
- Bulk CMS management
- Dynamic publishing workflows
- Custom AI agents trained on your Webflow data
You do not need to be an engineer. If you can find your way around Webflow CMS, MCP is within reach.
In short: Webflow MCP is the link between your site and the AI tools you want pointed at it.
3. How Webflow MCP works (simple breakdown)
Model Context Protocol sounds technical. The way it works is simpler than the name suggests.
Here is how MCP connects your site to AI tools.
Step 1: Set up the MCP server
First, you create an MCP server. Think of it as a smart translator sitting between your Webflow site and any AI system.
You can set it up by:
- Using the open-source Webflow MCP GitHub repo
- Running it locally with Node.js and NPM
- Hosting it remotely for 24/7 access via platforms like Vercel, Xano, or your own VPS
The server runs a tiny app that listens for AI queries and connects to Webflow's Data API v2.
Step 2: Connect the server to your Webflow project
Generate a Webflow API token in your account's API settings. That token lets the MCP server reach your site's:
- CMS collections
- Pages
- Site metadata
- Publishing settings
- Orders (if you use Webflow Ecommerce)
You pass the token into the server's environment, either through a .env file or in the config if you are using a no-code backend like Xano.
Step 3: AI clients talk to the MCP server
Once it is live, your AI tools (Cursor, Claude Desktop, Zapier Agents, or any LLM you configure) can:
- Ask the server real questions about your Webflow project
- Trigger live actions like publishing, updating CMS items, or changing page settings
- Get up-to-the-minute responses, not cached or stale data
Instead of memorising Webflow API endpoints, your AI just says something like:
"List all blog posts created in the last 7 days"
and the MCP server handles the request behind the scenes. Smarter automation, with less risk, and no heavy programming.
Step 4: Real-time actions and responses
Once the server has the AI's request, it:
- Fetches or updates the right Webflow data
- Returns the response in a structured, machine-readable format
- Hands it to the AI client almost instantly
All of it happens securely. Your Webflow credentials are never exposed to the AI. The server acts as the gatekeeper.
Visual summary
[ AI Assistant ] -> [ MCP Server ] -> [ Webflow Data API ]

   Ask
   Fetch / Update
   Return results, all in real time
Why it matters
Traditionally, you would build custom integrations, write and test API requests, then maintain error handling and retries.
MCP takes that friction away. As a developer or marketer, you plug into your site's live data without coding a single API call.
In an AI-driven workflow, speed and context do most of the work. MCP gives you both.
4. What you need before you start
Before you set up Webflow MCP, get a few things ready. Think of it as packing your gear before a trail. Miss something and the trip gets harder than it needs to be.
Node.js and NPM installed
Webflow MCP is a lightweight Node.js server. You will need:
- Node.js version 18 or above (recommended)
- NPM to install and run the MCP package
To check, open your terminal and run:
node -v
npm -v
If they are missing, download Node.js. It installs both Node and NPM in one go.
A Webflow account with API access
MCP works with your live Webflow projects through the official API. You will need:
- A published Webflow project
- API access (available even on basic paid plans)
Generate a secure API token:
- Go to Account Settings > Integrations > API Access in Webflow
- Click "Generate New Token"
- Copy it somewhere safe. You cannot view it again once you close the page.
Use a token with the narrowest permissions you can get away with (read or write, depending on the job).
Optional but handy: Zapier MCP or Xano
Do not fancy running a Node.js server yourself? You can:
- Use Zapier MCP to spin up a hosted server in seconds
- Or use a no-code backend like Xano for more control
Either way, your AI tools connect to Webflow MCP without coding, deployment, or worrying about uptime.
A feel for your Webflow project structure
Since the server lets AI query your CMS items, pages, and settings, it helps to know:
- Your collection names (for example, "Blog Posts")
- Key fields like SEO titles, slugs, and publish dates
That makes it easier to build smart workflows once the server is live.
In short: if you are comfortable in Webflow Designer and CMS, you can do this.
5. How to install and set up Webflow MCP
Now for the actual install. The good news is it usually takes under 10 minutes.
Step 1: Install Webflow MCP via NPM
Open your terminal and run the official server package:
npx -y webflow-mcp-server@latest
npx downloads and runs the server straight away. No manual cloning, no giant setup files.
You can also clone the Webflow MCP GitHub repository if you want full code access.
Step 2: Set your Webflow token
The server needs your API token to talk to Webflow. Two ways to do it:
Environment variable (recommended). Create a .env file in your project folder:
WEBFLOW_TOKEN=your_api_token_here
Direct config. Pass it inline when starting the server. Less secure for production.
Step 3: Start the server
npm start
(Or use a process manager like pm2 for production hosting.) You will see a message confirming the server is live and listening.
Step 4: Connect your AI client
Depending on what you use:
- Cursor: add your server under Settings > MCP Servers > Add New
- Claude Desktop: paste your config into
claude_desktop_config.json - Zapier MCP: paste your server URL into your Zapier MCP endpoint settings
That is it. Your AI assistant can now read, query, and change your Webflow site in real time.
Quick example: config snippet for AI
Here is what your MCP config might look like inside a tool like Cursor:
{
  "mcpServers": {
    "webflow": {
      "command": "npx",
      "args": ["-y", "webflow-mcp-server@latest"],
      "env": {
        "WEBFLOW_TOKEN": "YOUR_WEBFLOW_API_TOKEN"
      }
    }
  }
}
Clean, and ready to scale.
Bottom line: setup is light for what it unlocks. Worth doing if you are serious about running your Webflow projects with AI and automation.
6. Tools available in Webflow MCP
Once your server is live, your AI assistant gets a control panel for your Webflow site, with proper guardrails.
Webflow MCP exposes several "tools", which are sets of actions your AI or automation can run instantly. Here is what is currently available, based on Webflow's official MCP documentation.
Sites tools
- List Sites (
sites - list): see every site linked to your account. - Get Site Details (
sites - get): pull metadata, domains, SSL settings, and more for a project. - Publish Site Changes (
sites - publish): trigger a full publish without opening Webflow Designer.
Pages tools
- List Pages (
pages - list): get every static page in a site, including hidden drafts. - Get Page Metadata (
pages - get - metadata): pull SEO titles, descriptions, and open graph settings. - Update Page Settings (
pages - update - page - settings): change page names, SEO titles, and slugs programmatically. - Get Page Content (
pages - get - content): pull live content from a page, handy for audits. - Update Static Page Content (
pages - update - static - content): push text updates without touching Designer.
CMS collections tools
- List Collections (
collections - list): see all your CMS collections. - Get Collection Details (
collections - get): pull a collection's structure, fields, and settings. - Create a Collection (
collections - create): build new collections via AI. - Create Fields: static (
collection - fields - create - static), option (collection - fields - create - option), and reference (collection - fields - create - reference). - Update Custom Fields (
collection - fields - update): change or add fields on an existing collection. - Manage CMS Items: create items (staged or live), update items (staged or live), and publish items.
That is a lot of room for dynamic sites, blogs, ecommerce stores, and directories.
Ecommerce tools (early beta)
- Fulfil Order (
orders - fulfill) - Update Order (
orders - update)
Useful for Webflow Ecommerce sites that need basic order automation.
In summary: the tools cover content updates, SEO, and live publishing, all triggered through a simple AI conversation or automation.
7. Using Webflow MCP with Zapier (no code)
Do not want to run your own server? Zapier's MCP integration skips the Node.js and hosting entirely, and connects your Webflow projects straight to AI tools like:
- Zapier Agents
- ChatGPT
- Claude
- Any custom AI workflow
How it works
- Generate your secure MCP URL. Create an endpoint in Zapier's dashboard without writing code.
- Pick your Webflow actions. Choose what your AI can do: create CMS items, update entries, fulfil orders, update SEO metadata, publish pages.
- Connect your AI platform. Add the endpoint to your assistant or automation, then trigger real Webflow updates with plain language or event triggers.
Example: a simple workflow
New form submission in Webflow -> Zapier MCP -> create a blog draft in CMS -> notify your team in Slack.
All automatic, with no one lifting a finger.
Why Zapier MCP is handy
- No server maintenance
- Secure, token-based access
- Connects with thousands of apps in Zapier's ecosystem
- Scales for marketing, SEO, sales, and support workflows
Bottom line: Zapier MCP suits teams who want serious Webflow automation without the engineering overhead. If you already use Zapier, it feels like one new superpower rather than another project to babysit.
8. Troubleshooting Webflow MCP
Setup is straightforward, but a few things can trip you up. Here is a real-world checklist.
Issue 1: the server won't start
Cause: missing Node.js, wrong Node version, or a corrupted local environment.
Fix:
- Check Node.js is installed:
node -v - Confirm you are on Node.js 18 or higher
- If it still fails, reinstall Node.js or clear the cache:
npm cache clean --force
Issue 2: authentication errors (invalid token)
Cause: wrong API token, or a token with the wrong permissions.
Fix:
- Regenerate a fresh token in Webflow's API settings
- Copy and paste it exactly, with no stray spaces
- Set it properly in your
.envfile:
WEBFLOW_TOKEN=your_new_token
Issue 3: AI client won't connect to the server
Cause: the server is unreachable, or a firewall or hosting restriction is in the way.
Fix:
- Local: make sure the server is running (look for terminal output like "Listening on Port 3000")
- Remote: confirm the server is publicly reachable (tools like ngrok are good for quick tests)
- Double-check your AI client is pointed at the right URL
Issue 4: data mismatch errors
Cause: your Webflow CMS structure changed (new or renamed fields) after setup.
Fix:
- Refresh your server after major Webflow changes
- Recheck any AI prompts that call dynamic fields
Pro tip: if you are hosting MCP for clients or teams, use a process manager like pm2 to keep the server restarting itself.
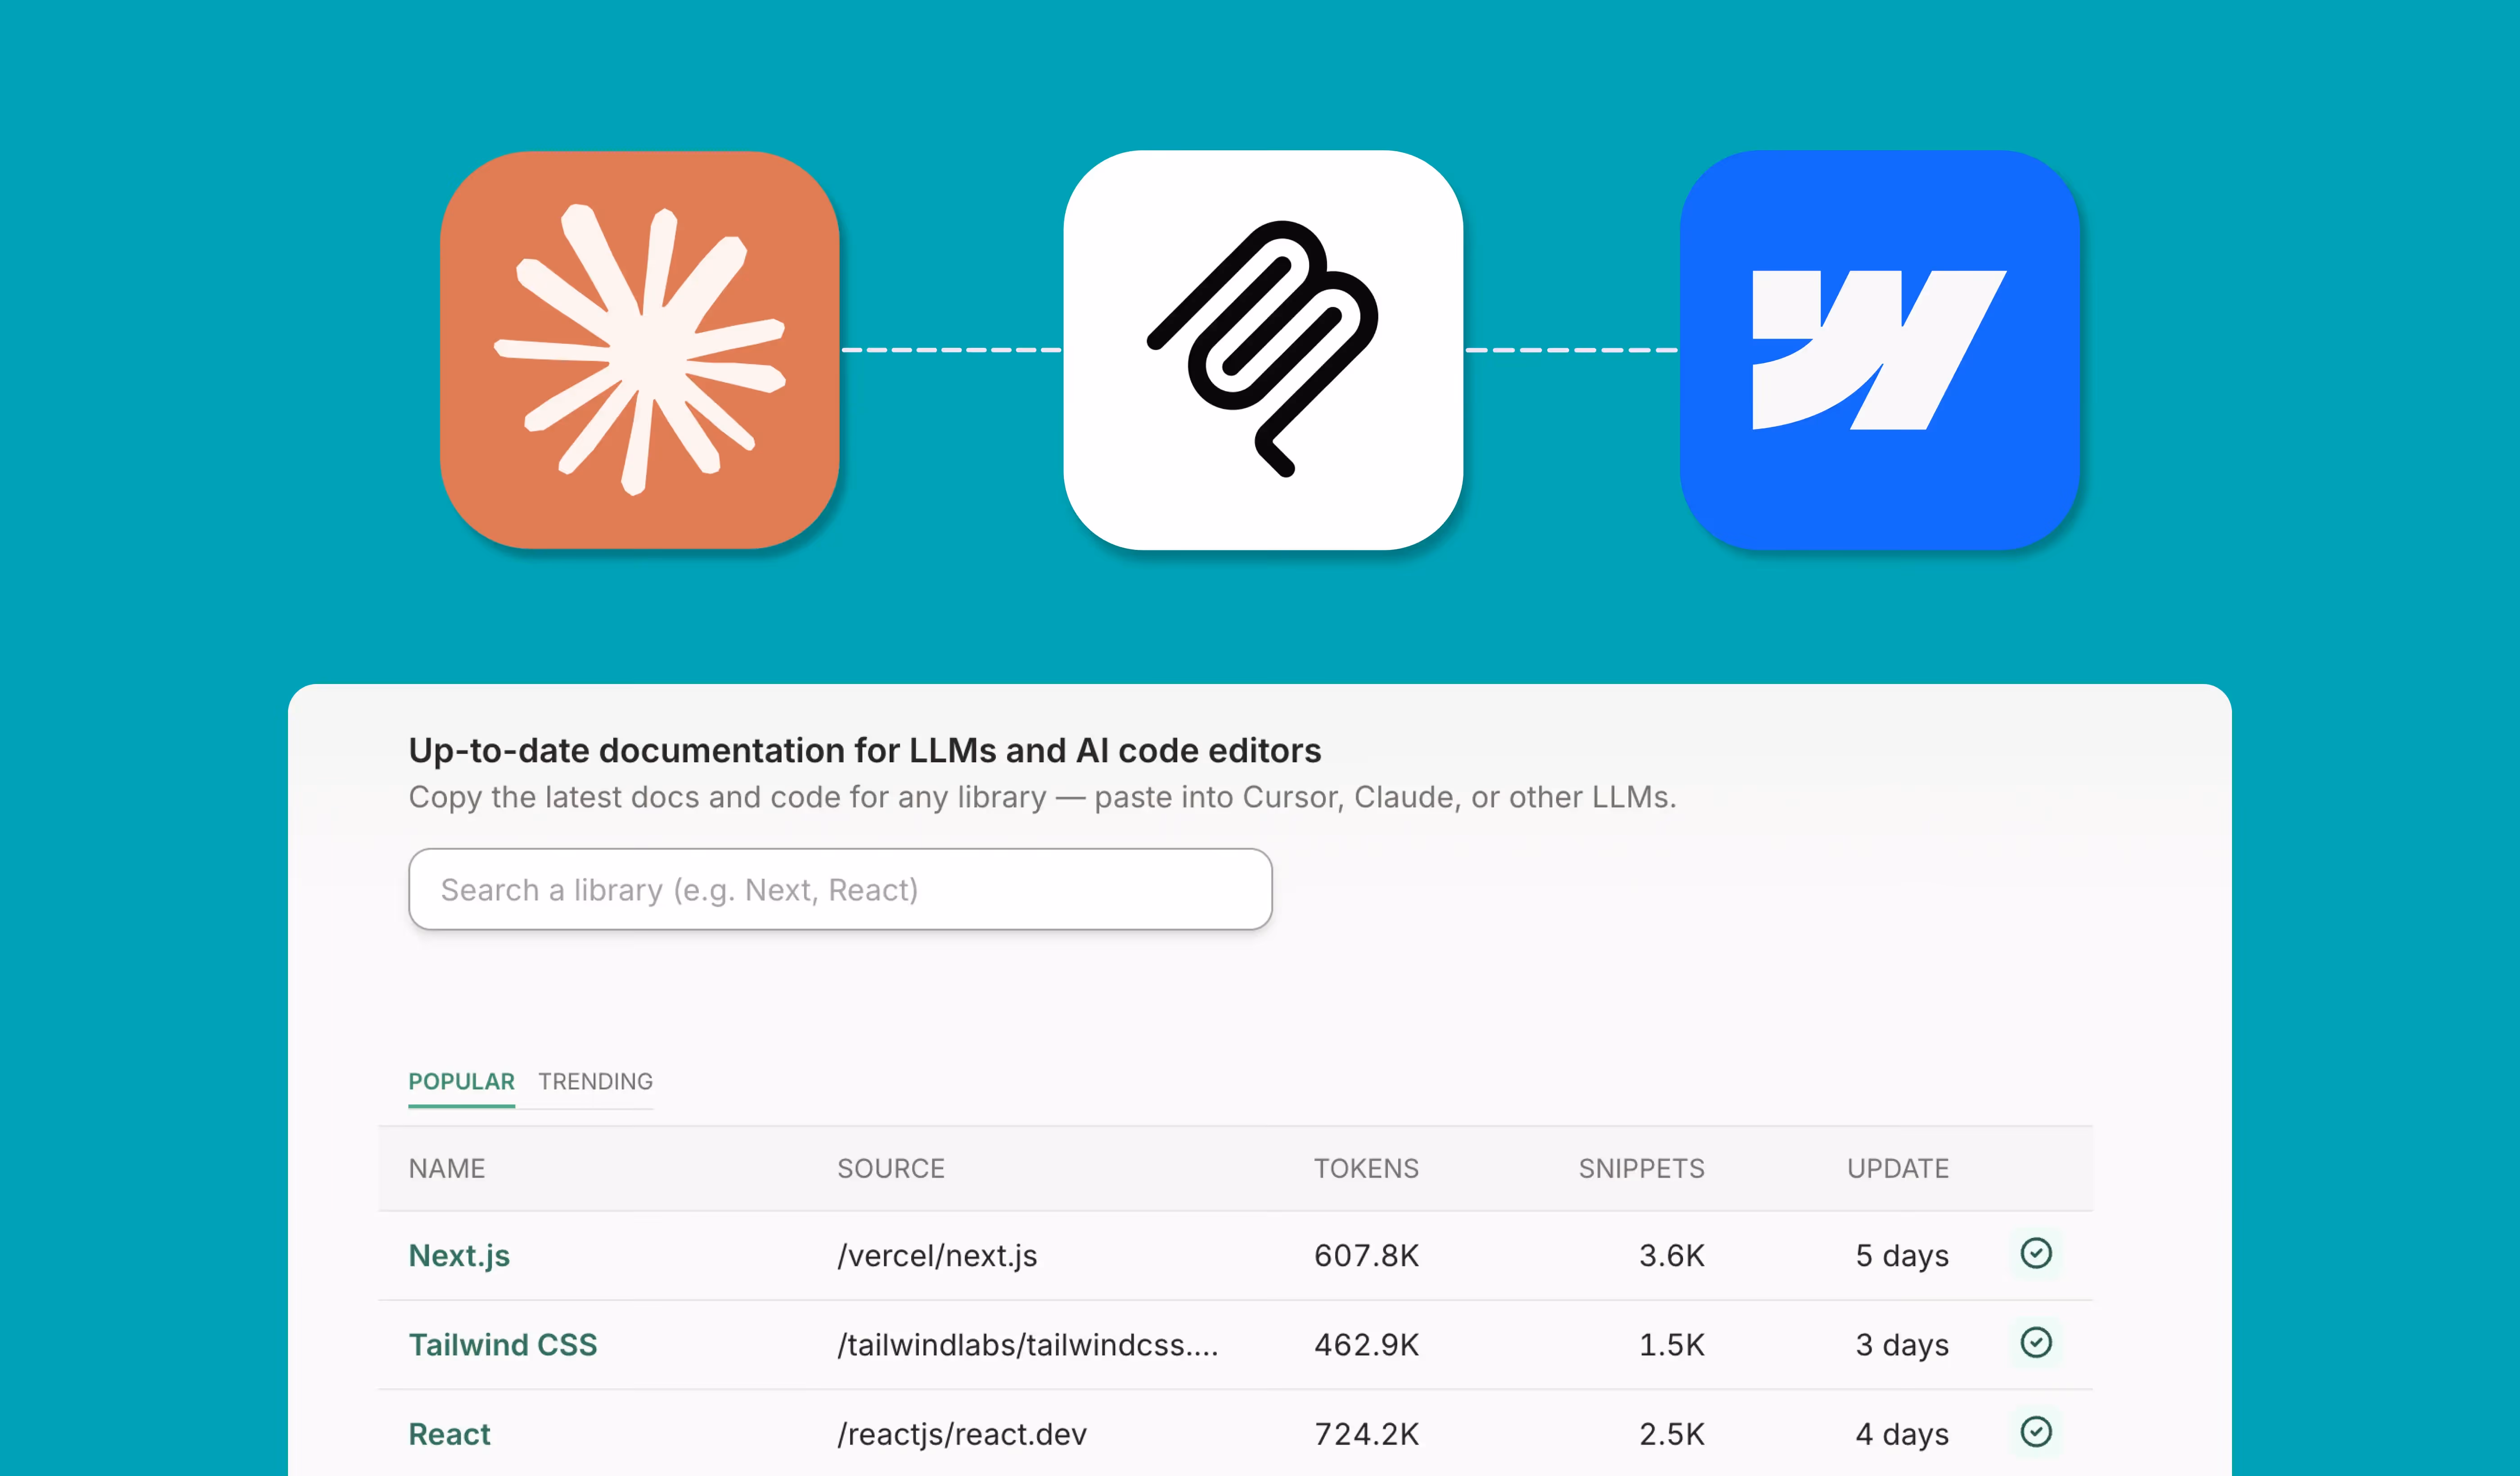
9. Documentation for AI LLMs
Webflow has made its developer documentation LLM-friendly, so AI agents generate better, faster, more accurate responses.
LLM-optimised docs
Webflow publishes a machine-readable version of its API and platform docs for LLMs. You can find it here:
https://developers.webflow.com/llms.txt
It structures the key payloads, endpoints, and schemas so models like ChatGPT and Claude can parse them cleanly.
How developers use it
- Add the
llms.txtfile to your AI's knowledge base - Let the AI pull real Webflow structures instead of guessing
- Sharpen prompts like "Create a CMS item", "List pages with missing SEO titles", or "Publish a site after a CMS update"
Markdown versions
Any Webflow docs page is available in Markdown by adding .md to the URL. For example:
https://developers.webflow.com/data/docs/ai-tools.md
Handy context when you are building AI-powered developer tools.
Pro tip: if you are folding AI into agency workflows, adding Webflow's LLM resources noticeably improves reliability.
10. What you can actually do with Webflow MCP
With MCP live, you are not just automating. You are opening up new ways for a Webflow site to run. Here are some of the most useful real-world cases.
1. AI content assistants
Train ChatGPT or Claude to:
- List your latest blog posts
- Suggest meta description improvements
- Find unpublished CMS drafts
- Auto-publish updates on a schedule
All without logging into Webflow.
2. Bulk CMS management
With MCP you can:
- Create, update, or delete dozens of CMS items in seconds
- Automate seasonal updates like "Summer Sale" pages
- Push structured FAQs across multiple landing pages
Good for marketing teams scaling content.
3. Live SEO monitoring and fixes
Through MCP and AI agents you can:
- Spot pages missing meta titles
- Auto-update open graph settings for blog posts
- Tag pages that need SEO work, straight from your AI workflow
No more tedious manual audits.
4. Customer support automation
Wire MCP into your CRM so that when a user submits a support form, it can:
- Update their ticket status in Webflow CMS
- Trigger a follow-up email
- Sync updates to HubSpot, Airtable, or Salesforce
Example: someone submits a feature request, and AI logs it as a CMS item for your team to review.
5. AI-driven content generation
Using CMS item creation via MCP, you can let AI:
- Draft posts based on trending topics
- Generate FAQs from real customer questions
- Build location-specific landing pages
Big time savings for content teams.
Bottom line: Webflow MCP moves your site from a static publishing platform to something that responds, updates, and runs itself in the background.
11. Best practices for running your MCP server
Once MCP is set up, keep it healthy, especially if it is doing real work on client projects. Here are the practices that hold up in the real world.
Keep the server running
If you host your own server (rather than using Zapier MCP), use a process manager like pm2 to auto-restart it, watch the logs, and avoid downtime during updates.
npm install pm2 -g
pm2 start npm --name "webflow-mcp" -- start
Rotate tokens regularly
Webflow API tokens do not expire on their own, but rotating them every few months tightens security and saves you from awkward lockouts. Set a recurring reminder to refresh the token in your .env.
Back up your configs
If you run several sites or clients through MCP:
- Keep a backup of your
.envfiles - Maintain a config listing every connected server and AI client
- Store it securely (encrypted storage like 1Password or Bitwarden)
Update MCP when Webflow does
Webflow updates its APIs and MCP packages to match new features and security patches. Watch the official MCP GitHub repo for release notes.
Start simple
When you connect MCP to AI workflows, begin with one site, one server, one set of tasks. Expand once the first system is rock solid. It is tempting to automate everything at once, but high-value cases first keeps your stack sane.
Quick checklist before going to production:
- Server uptime tested
- Secure token in place
- AI client properly authenticated
- Logs being monitored
Nail those and you are in good shape.
12. Conclusion: let MCP do the boring bits
In a world running on AI and automation, Webflow MCP is a real advantage. It turns your sites into systems that talk to AI assistants, publish content on their own, tidy SEO without manual work, and stay a step ahead, while you get on with the strategic work that actually moves things.
Picture MCP as the quiet assistant doing your website admin: watching the site in the background, making precise updates the moment they are needed, and handling the publishing and CMS chores so you do not have to.
If you are serious about staying ahead as a Webflow developer, agency, or growth marketer, learning MCP now sets you up for what comes next.
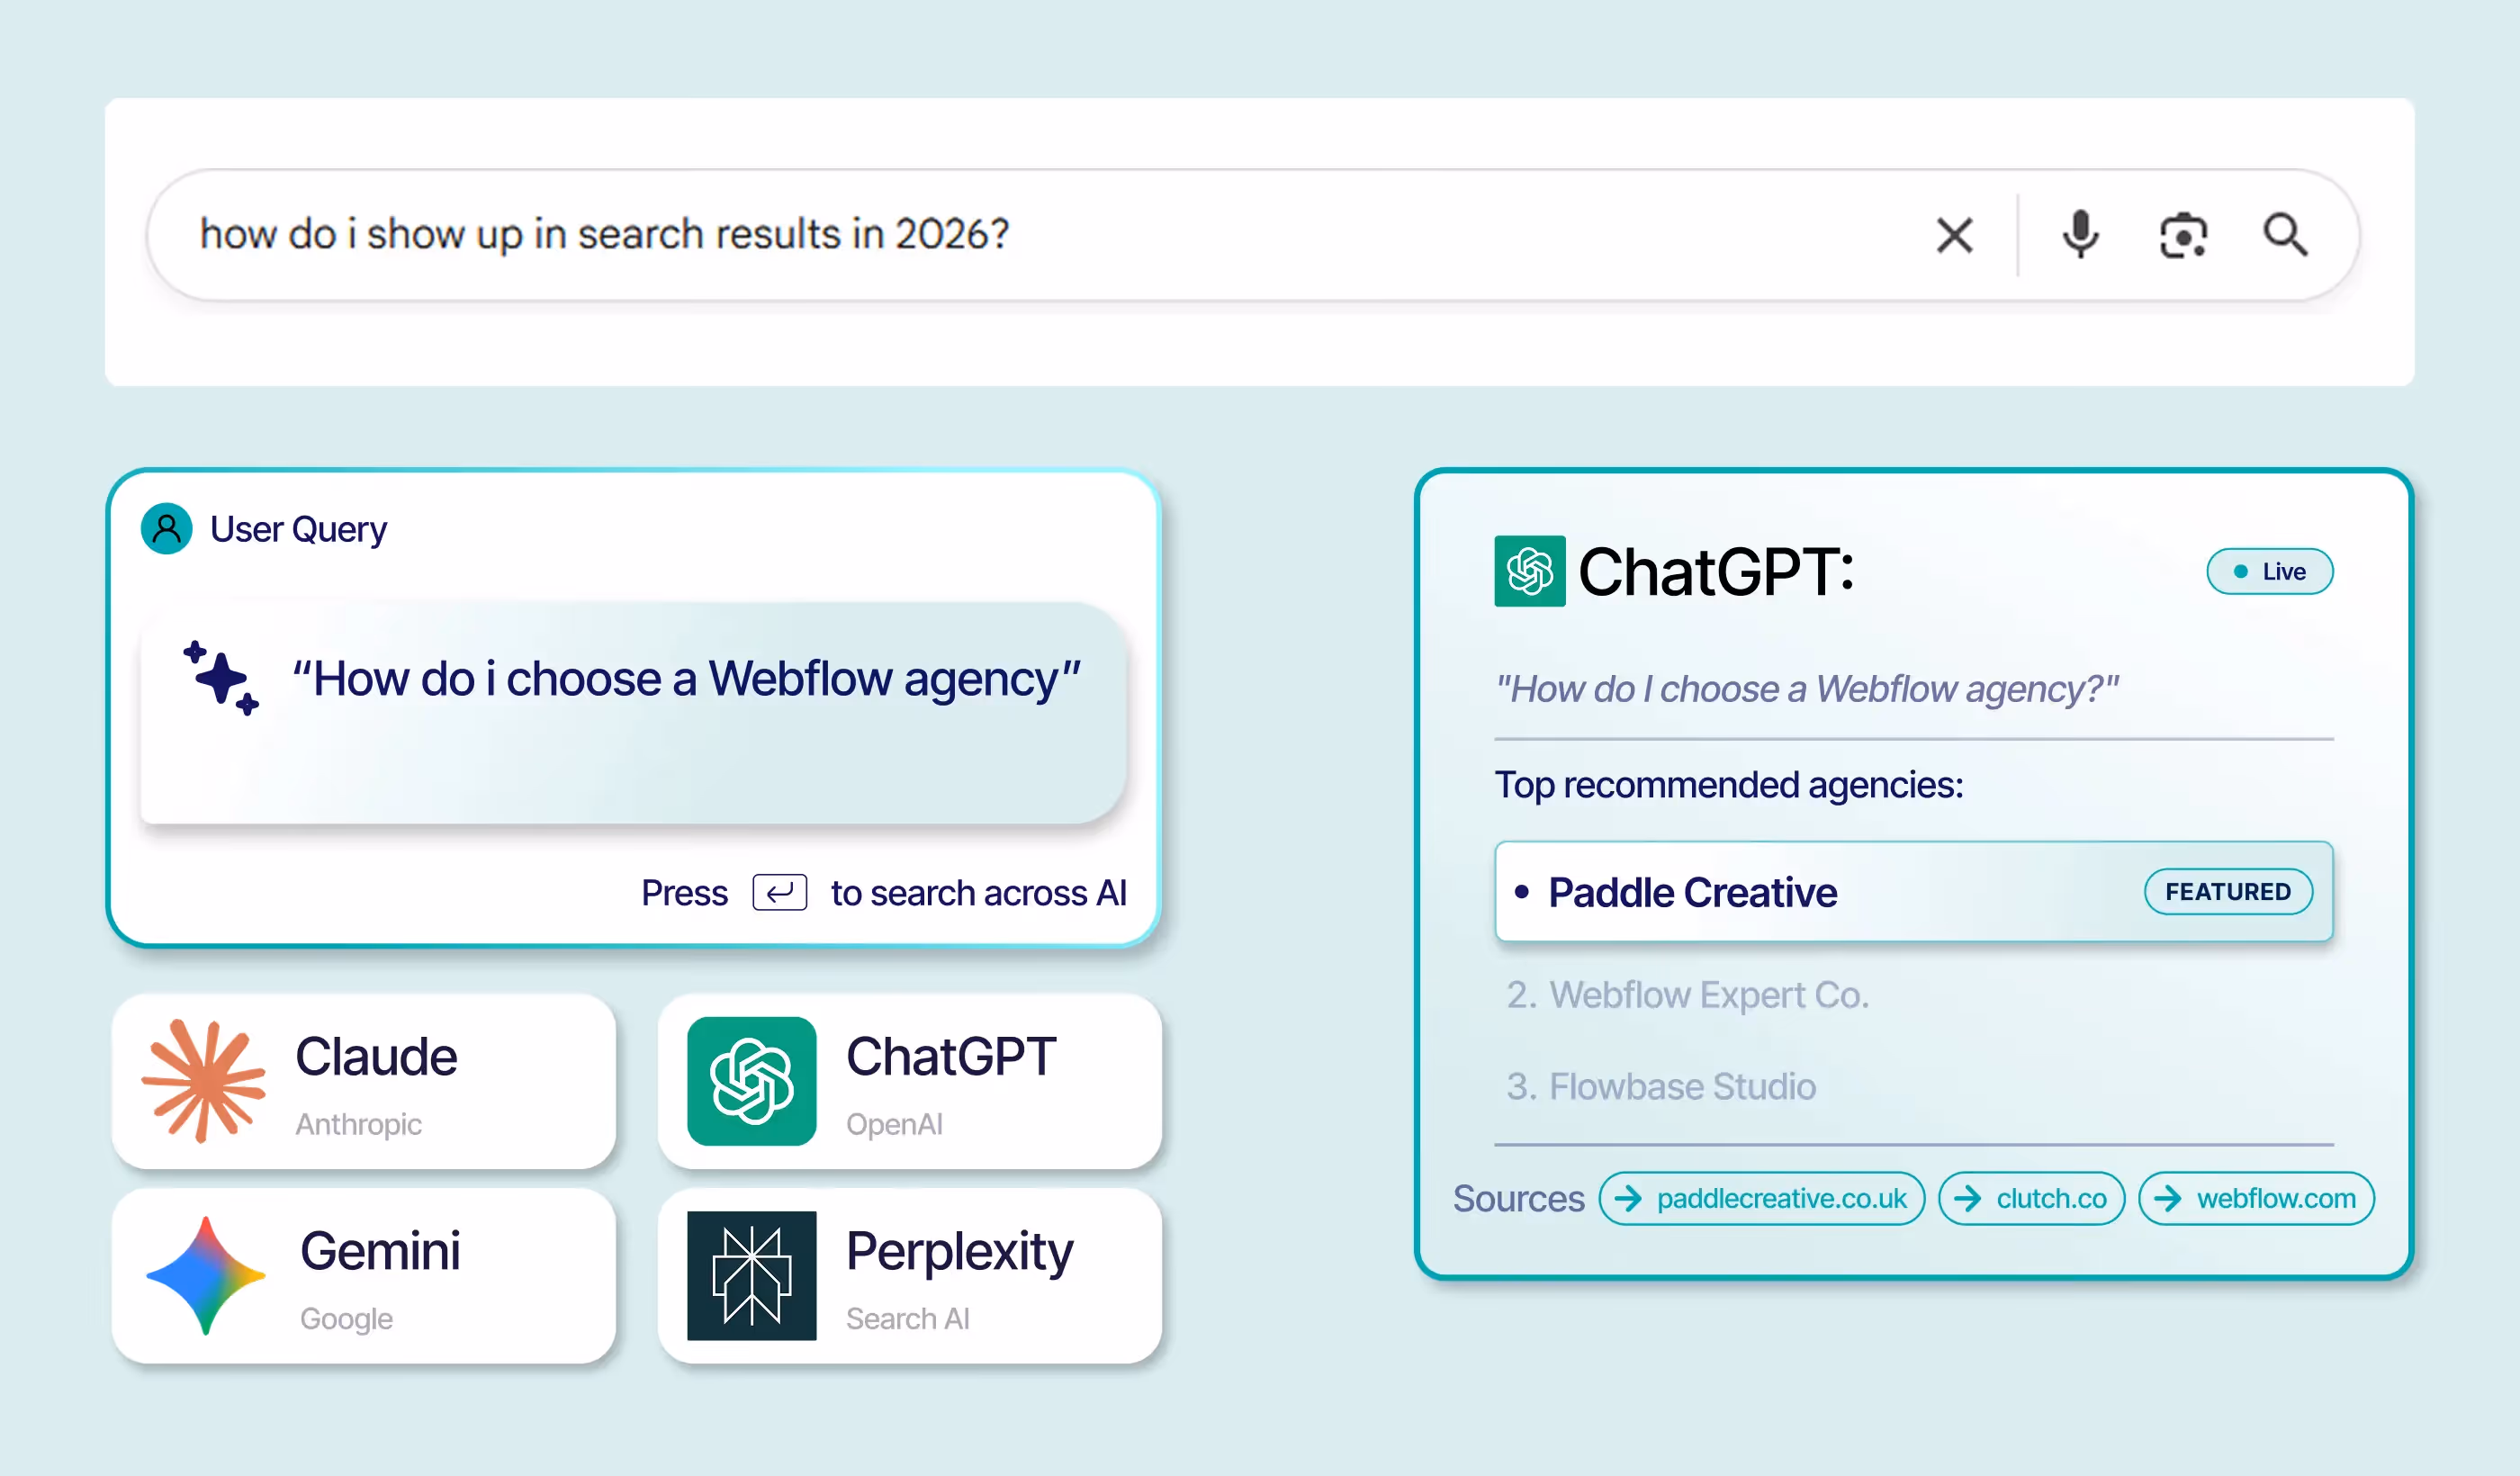
Want a hand getting AI-ready? Talk to Paddle Creative.

Author
Fact Checked By
%20(1).avif)


.avif)


%20(1).avif)
%20(2).avif)
%20(1).avif)
.avif)
.avif)
%20(1).avif)
.avif)

.avif)
.avif)
.avif)
.avif)
.avif)
%20(1).avif)
.avif)
%20(1).avif)

.avif)

%20(1).avif)
%20(1).avif)
%20(1).avif)


%20(2).avif)
.avif)


.avif)

.avif)
.avif)
.avif)
.avif)
.avif)
.avif)
.avif)
%2520(1).avif)
%2520(1).avif)
.avif)
%2520(1).avif)
%2520(1).avif)
%2520(1).avif)
%2520(1).avif)
%2520(1).avif)
%2520(1).avif)
.avif)
.avif)

.avif)


